I remember my first time trying a swan pose. My hips felt stiff and I had no idea if I was doing it right. Yoga poses can look simple, but they often need more care than you think.
If you feel the same way, this guide is for you.
In this article, I will walk you through what swan pose yoga is, why it helps your body, and how to do it step by step.
You will also learn common mistakes, easy variations, and which muscles this pose stretches and strengthens. I have taught yoga basics for years, and I tested every step here myself.
By the end, you will feel confident moving into swan pose safely, even as a beginner.
What Is Swan Pose Yoga?
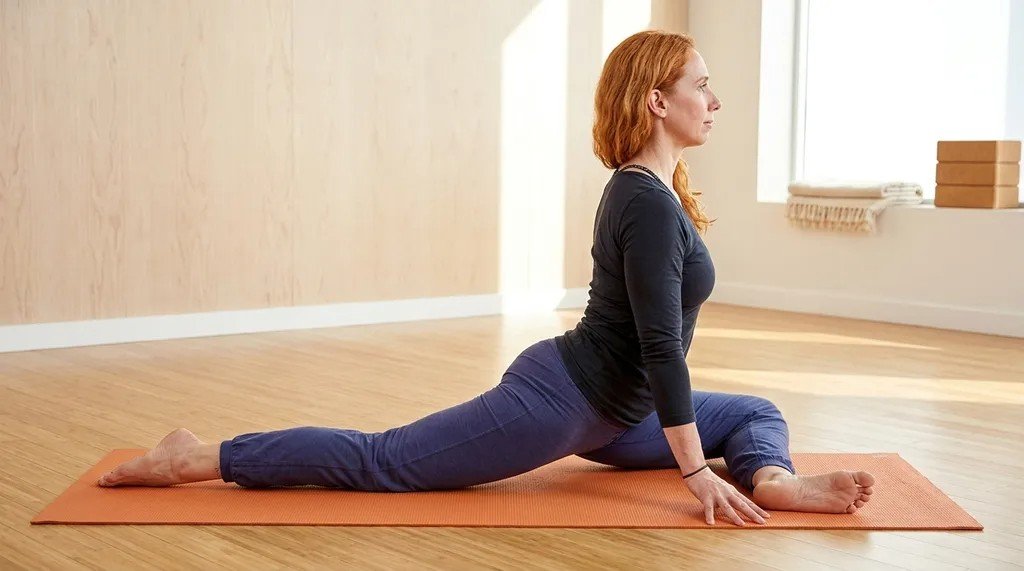
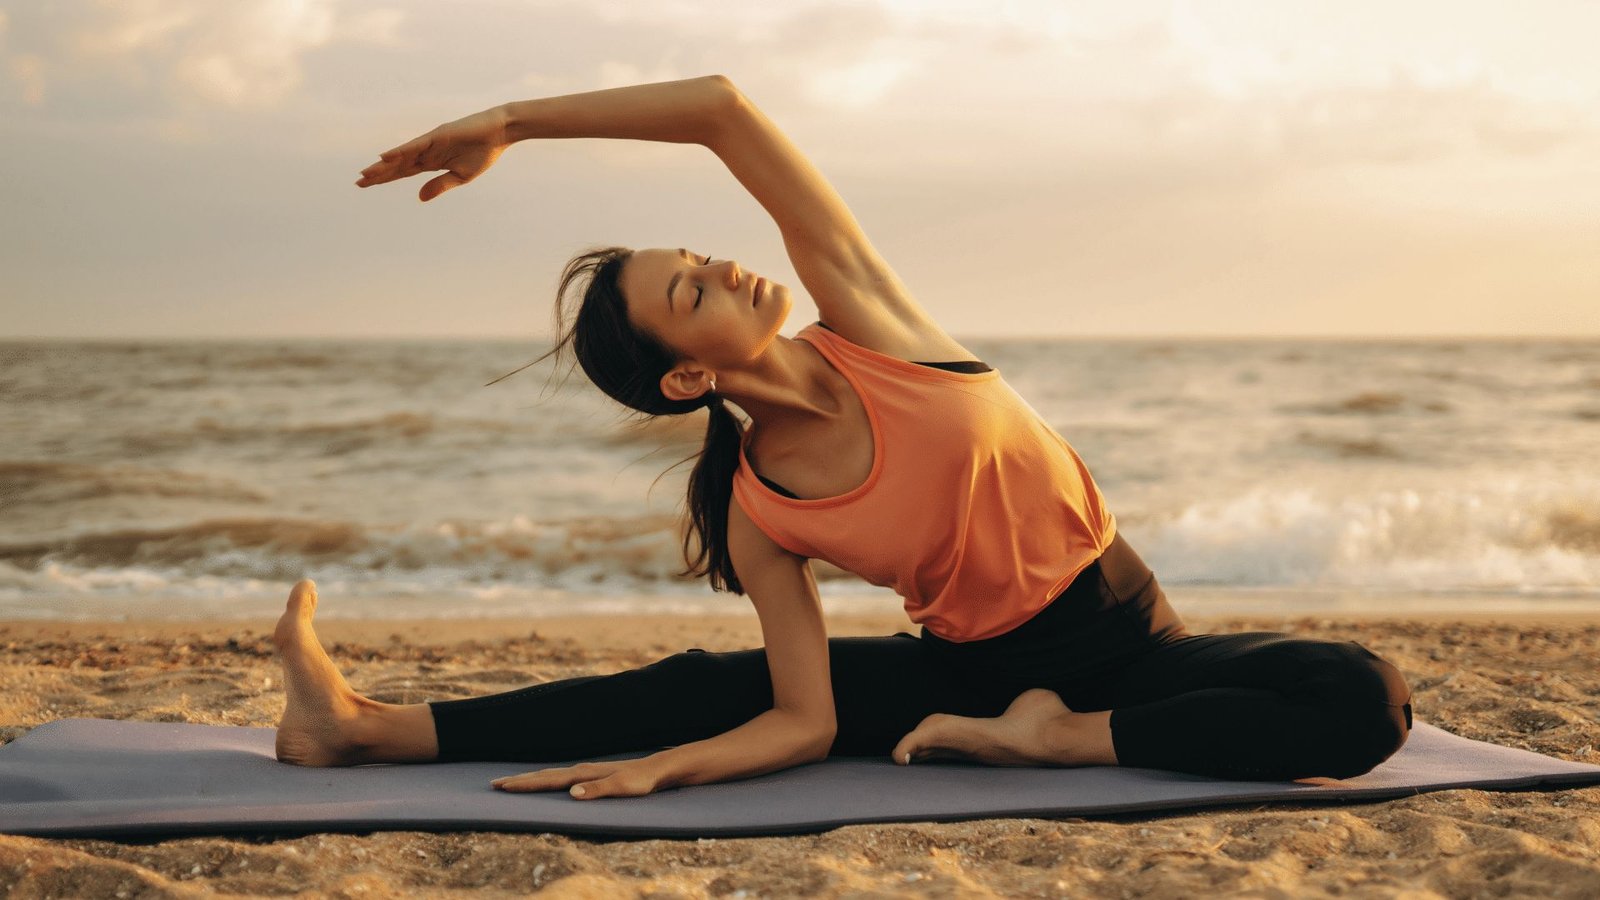
Swan pose is a hip opening yoga pose.
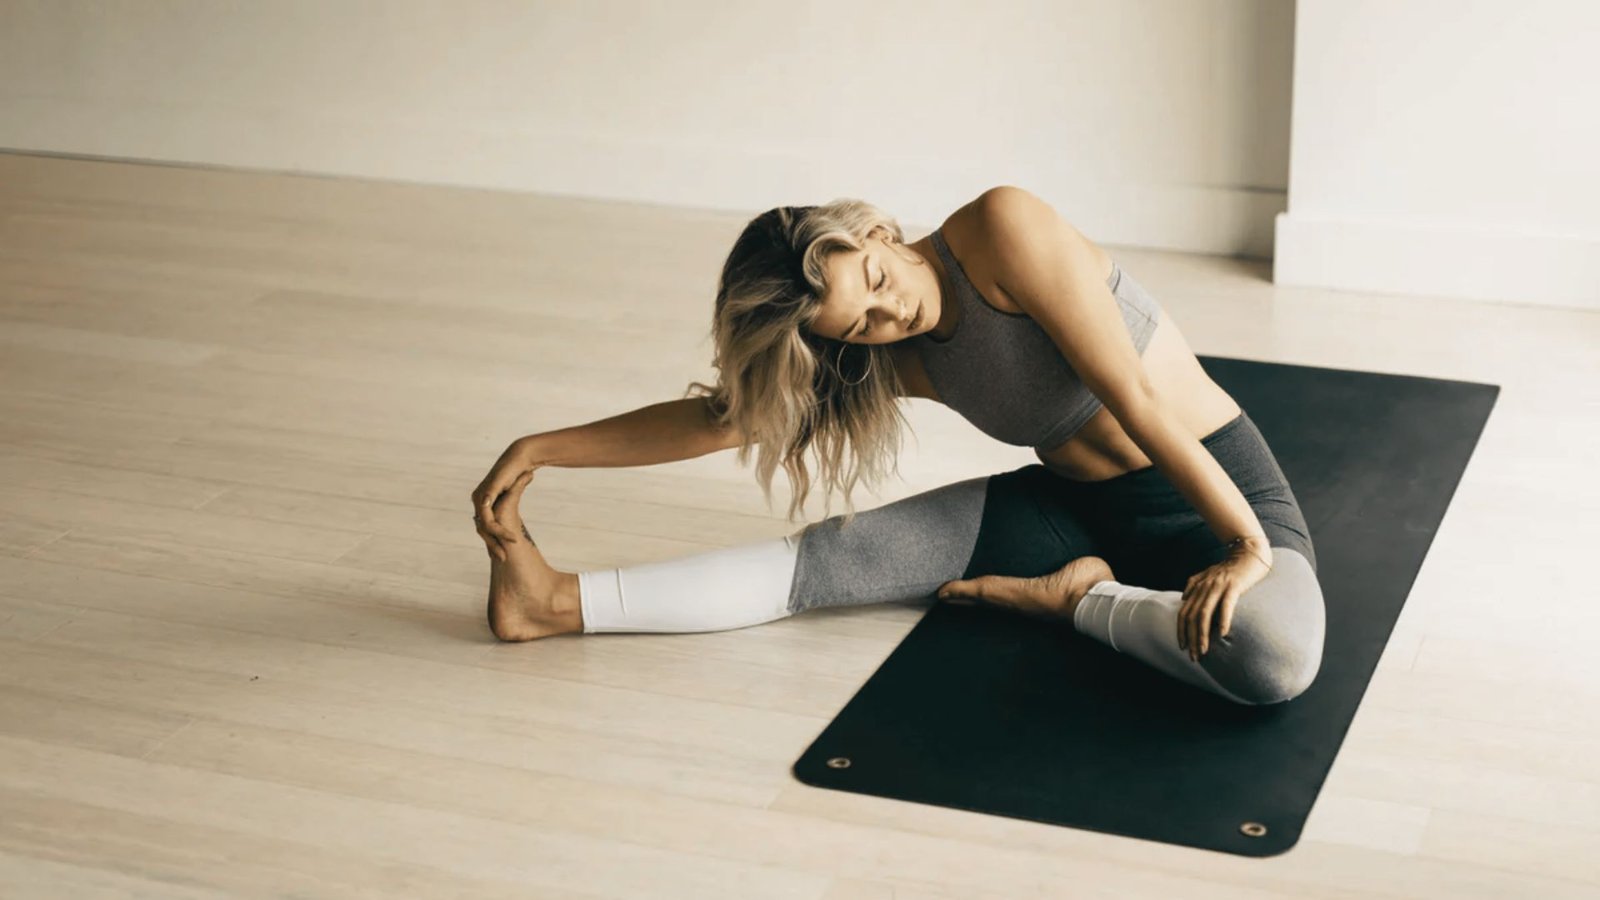
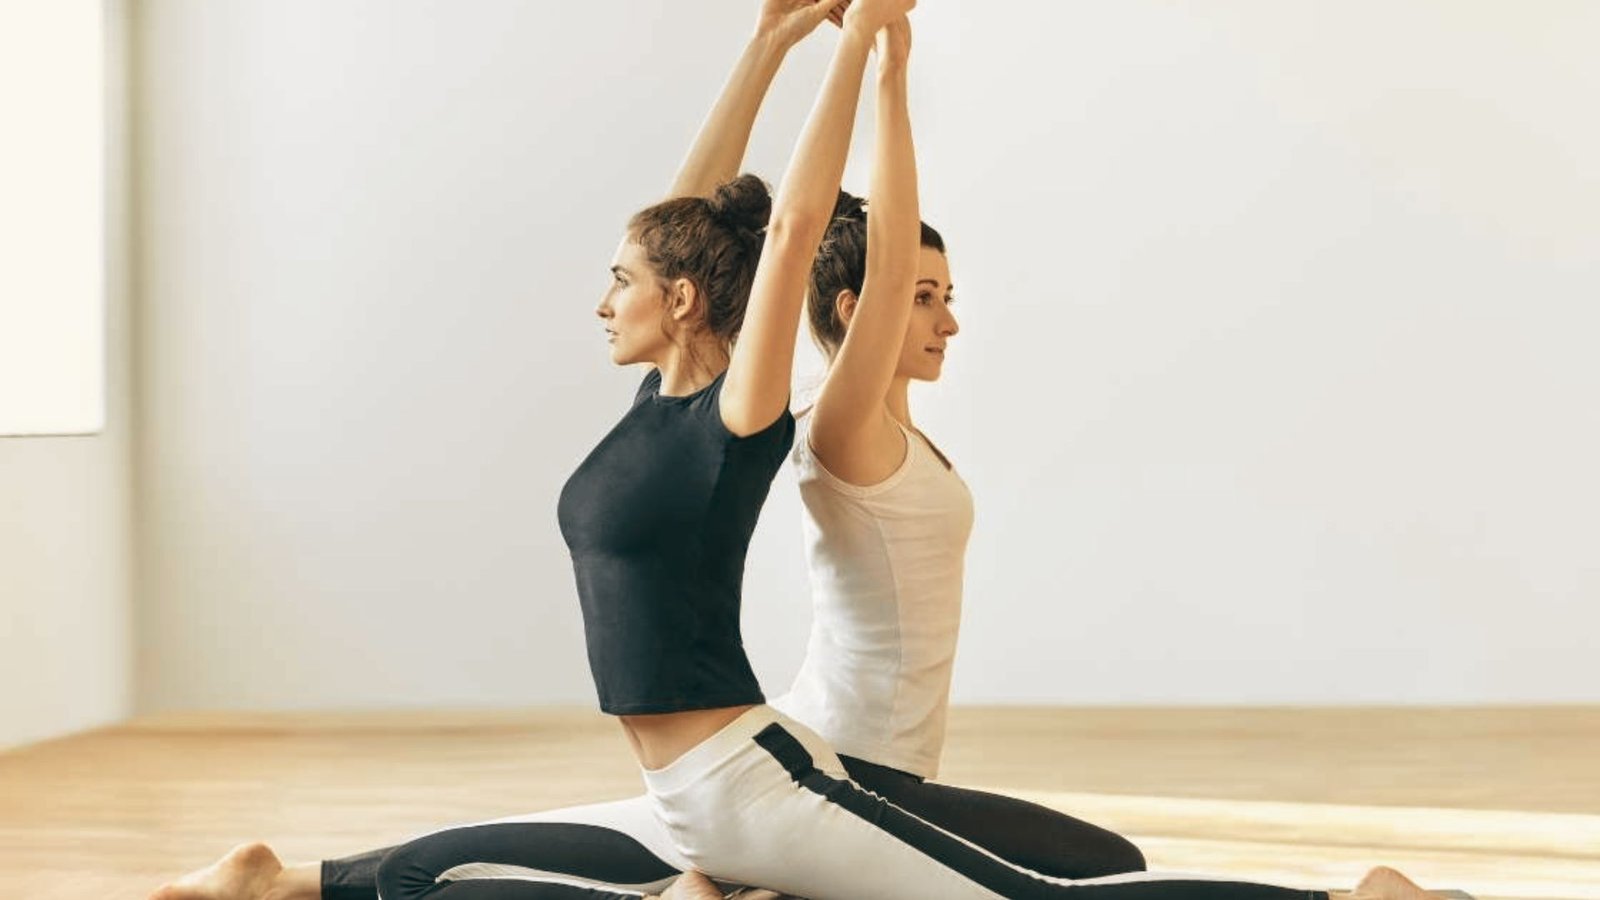
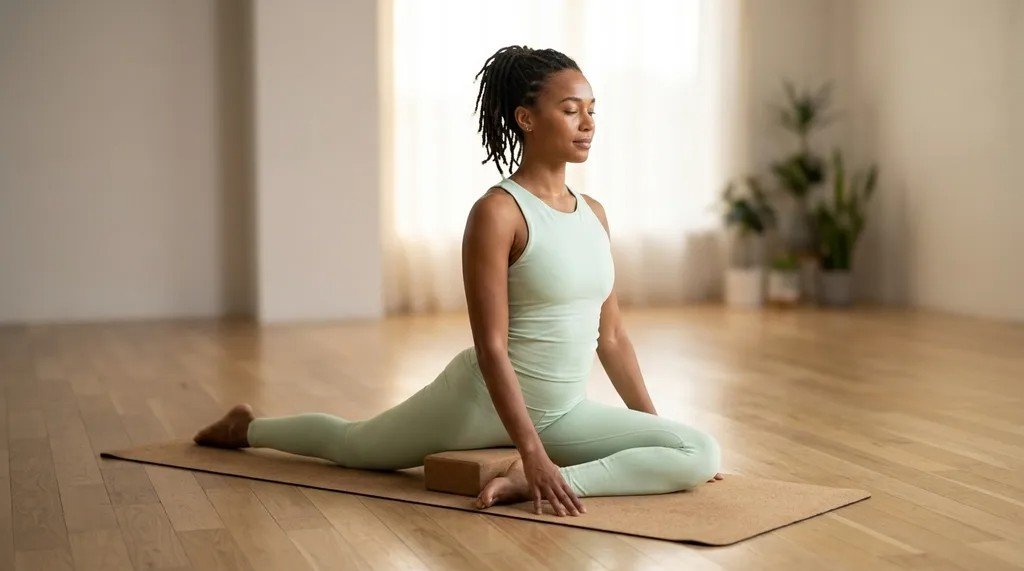
It comes from yin and Hatha yoga styles. You bend one knee in front of you and stretch the other leg straight back. Your upper body can stay upright or fold forward over the front leg.
This pose stretches your hips, glutes, and lower back.
People also call it a forward facing pigeon pose, since swan pose and pigeon pose share many of the same movements.
The main difference is that swan pose often uses more support and a slower pace.
Benefits of Swan Pose Yoga
Swan pose gives your body more than a deep stretch.
Here is what it can do for you:
- Opens tight hips from sitting all day
- Eases lower back tension
- Improves flexibility in your glutes and outer thighs
- Calms your nervous system when held with slow breathing
- Helps improve posture over time
- Works well as a cool down pose after workouts or runs
How to Do Swan Pose Yoga Step by Step
Follow these steps in order. Go slow and listen to your body the whole time.
Step 1: Starting Position and Setup
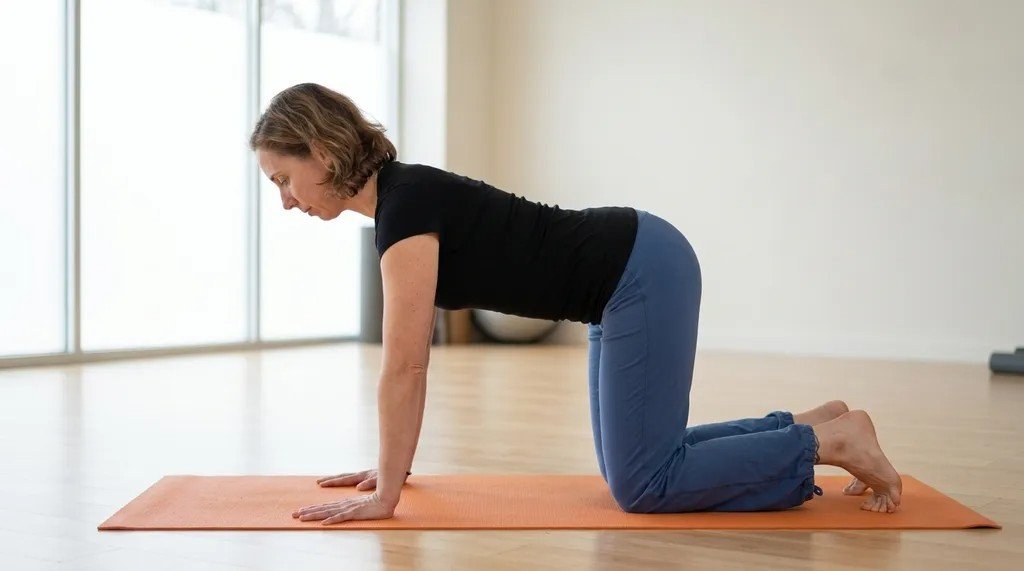
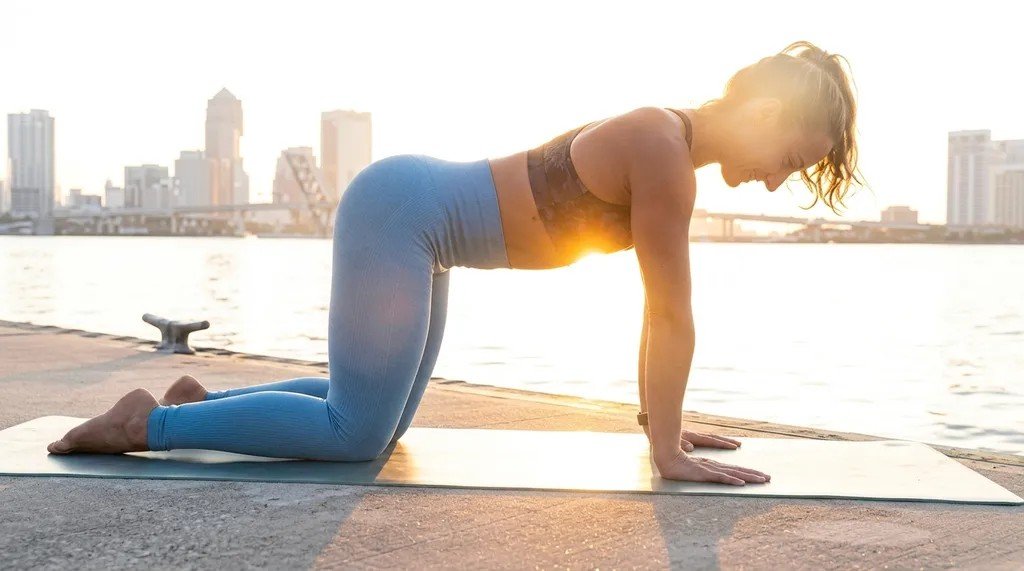
Start in a tabletop position on your hands and knees. Your wrists should sit under your shoulders. Your knees should sit under your hips. Take a breath here before you move into the pose.
Step 2: Positioning the Front Leg Correctly
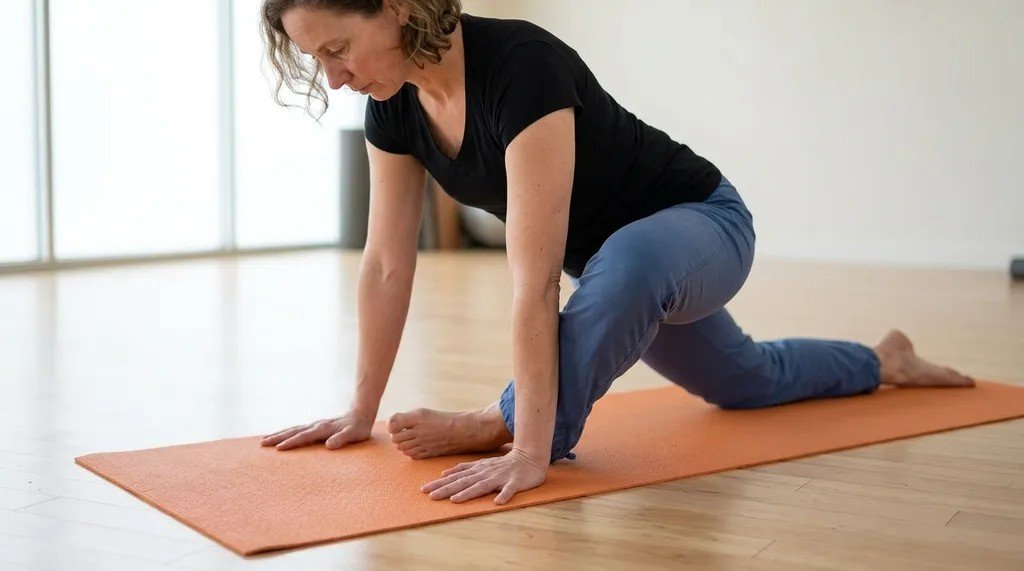
Bring your right knee forward and place it behind your right wrist. Let your right shin angle across the mat. Your right foot should sit near your left hip, not pressed against it.
Step 3: Extending and Aligning the Back Leg
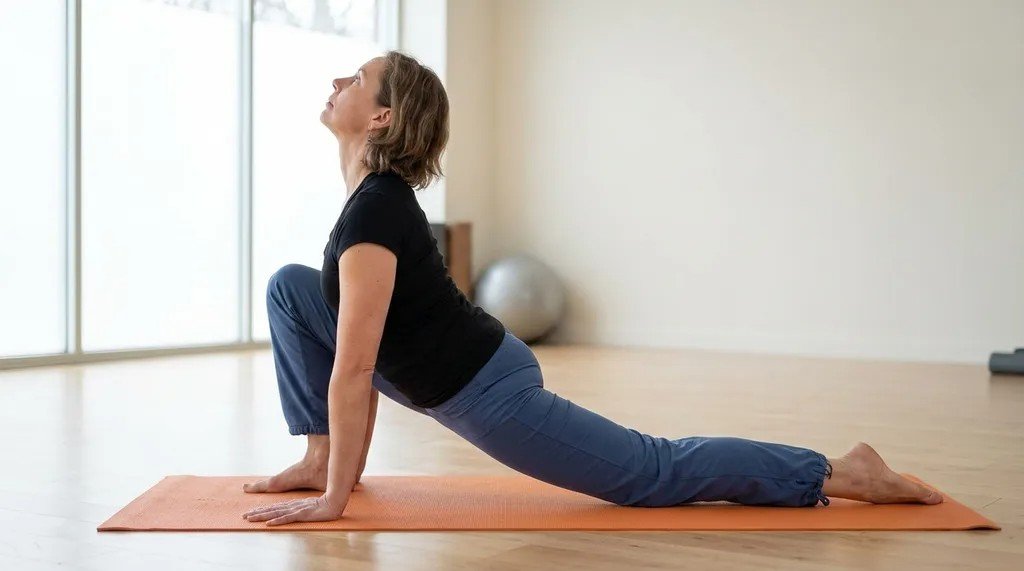
Slide your left leg straight back behind you. Keep your toes pointed and the top of your foot flat on the mat. Your hips should point forward, not twist to one side.
Step 4: Finding Proper Hip Alignment
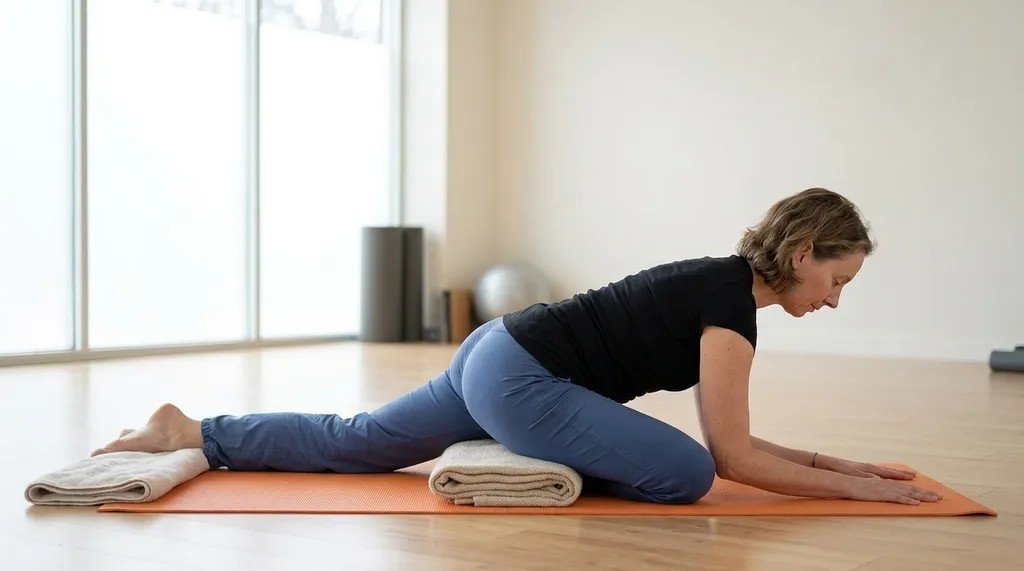
Check that both hip points face the front of your mat. If your right hip lifts up, place a folded blanket under it for support. This keeps your spine safe.
Step 5: Breathing and Holding the Pose
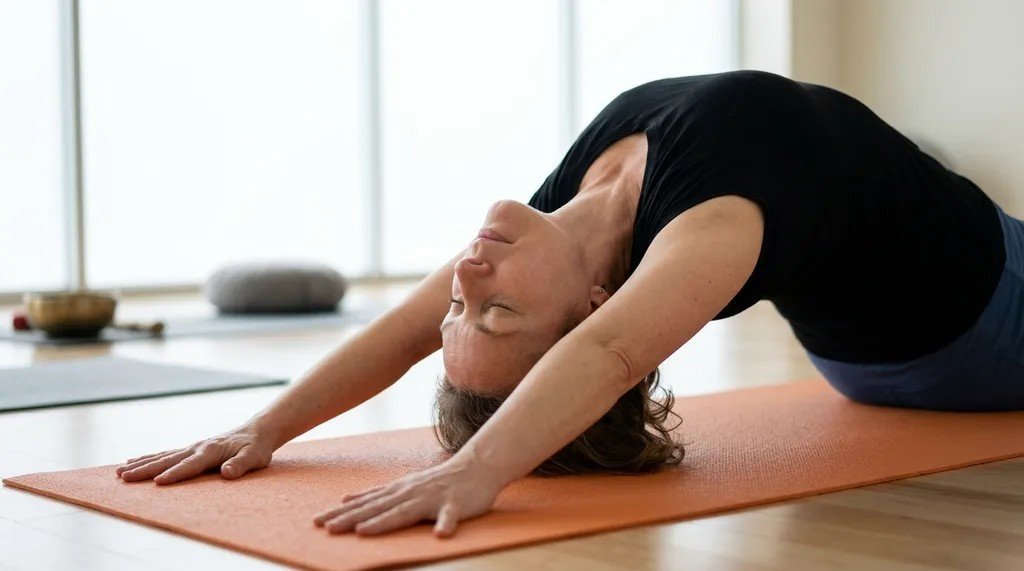
Once you feel steady, breathe in slowly through your nose. As you breathe out, fold forward over your front leg if that feels good. Hold the pose for five to ten slow breaths.
Common Mistakes to Avoid in Swan Pose Yoga
A few small errors can turn a good stretch into a strain.
Watch out for these:
- Letting your hips twist instead of facing forward
- Forcing your front knee into a sharp bend too fast
- Skipping support under your hip when you need it
- Holding your breath instead of breathing slowly
- Pushing through sharp pain in your knee or hip
- Rushing out of the pose without any control
Swan Pose Yoga Variations
Once you know the basics, try these versions to match your body.
1. Sleeping Swan Pose
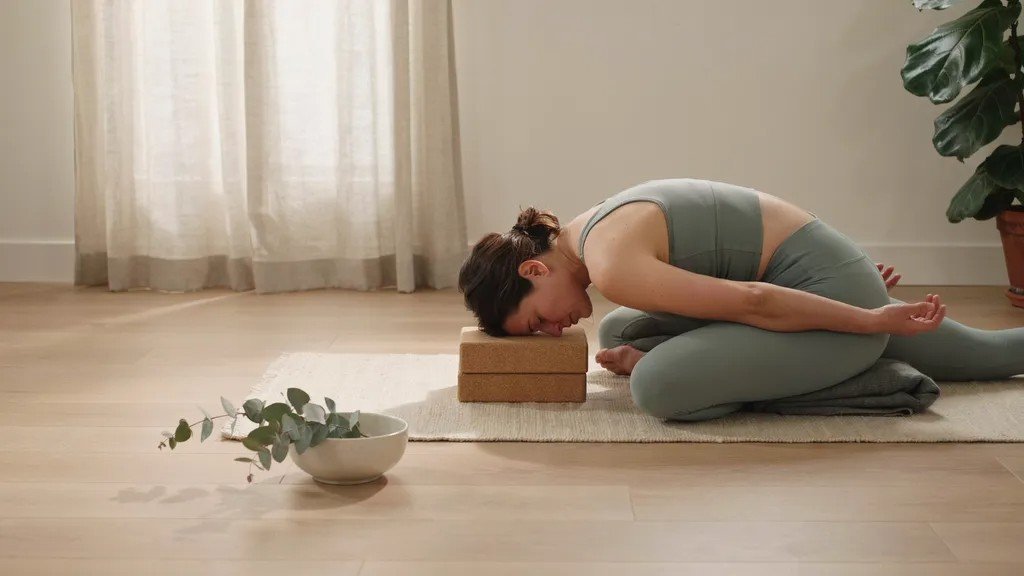
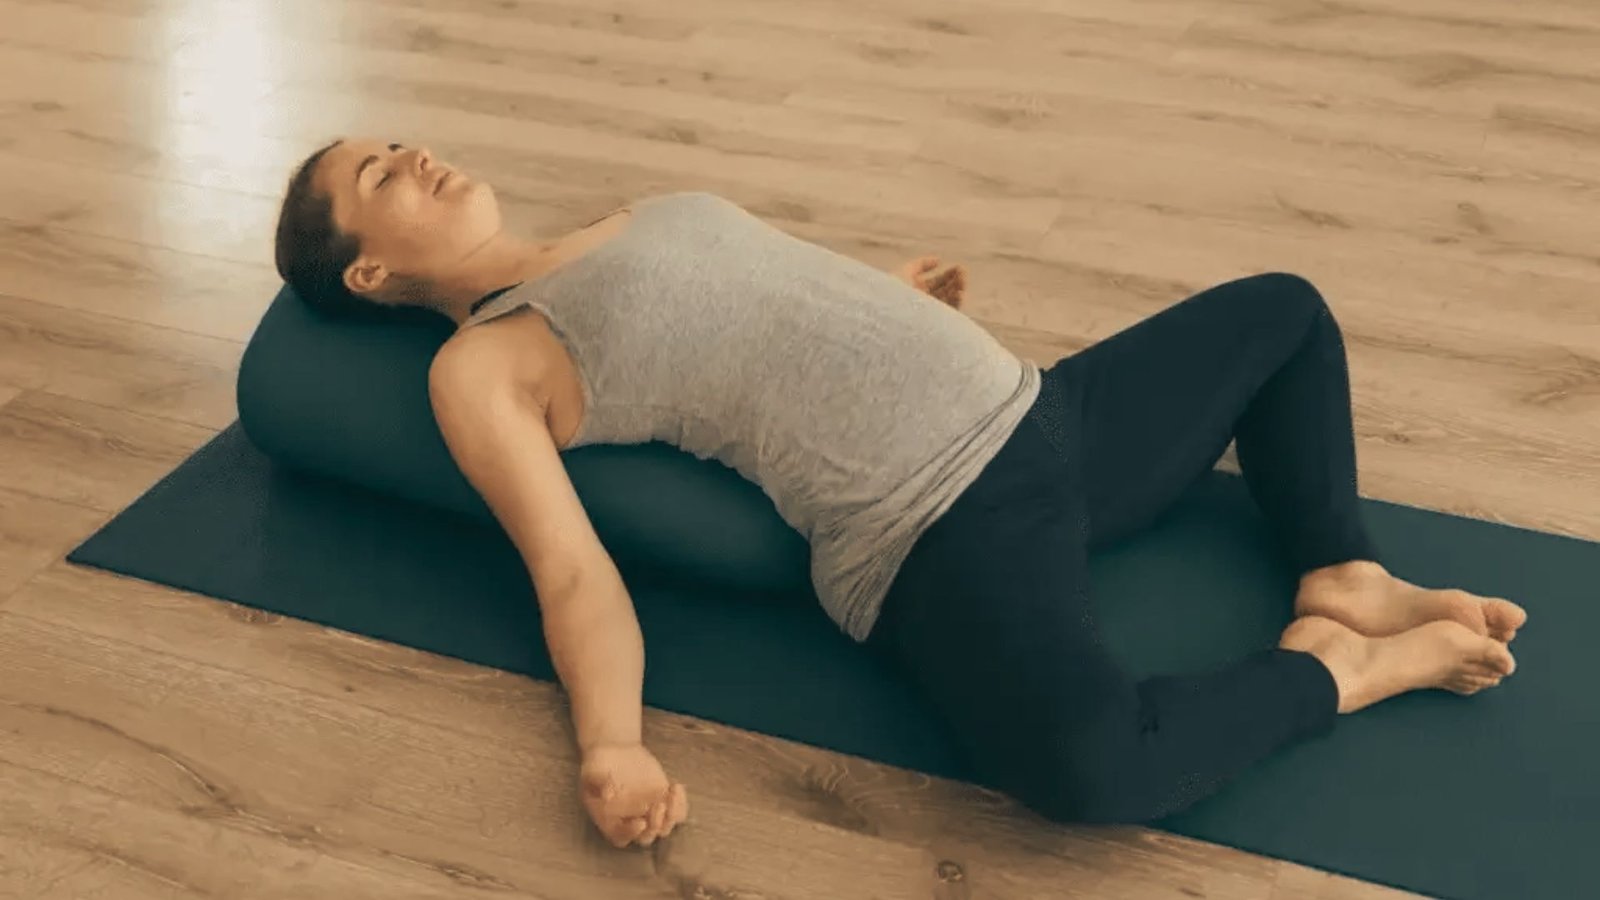
This is a deeper, more passive version. You fold all the way forward and rest your head on your hands or a block. Hold it longer, since this version is more about rest than effort.
2. Supported Swan Pose
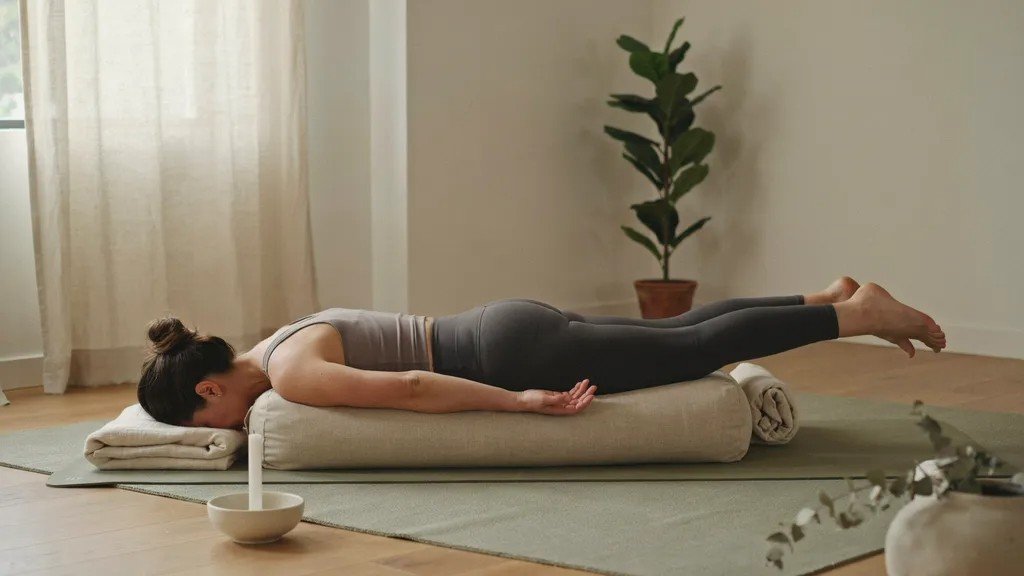
Place a bolster or folded blanket under your hips and chest. This takes pressure off tight areas and helps you relax fully into the stretch.
3. Twisted Swan Pose
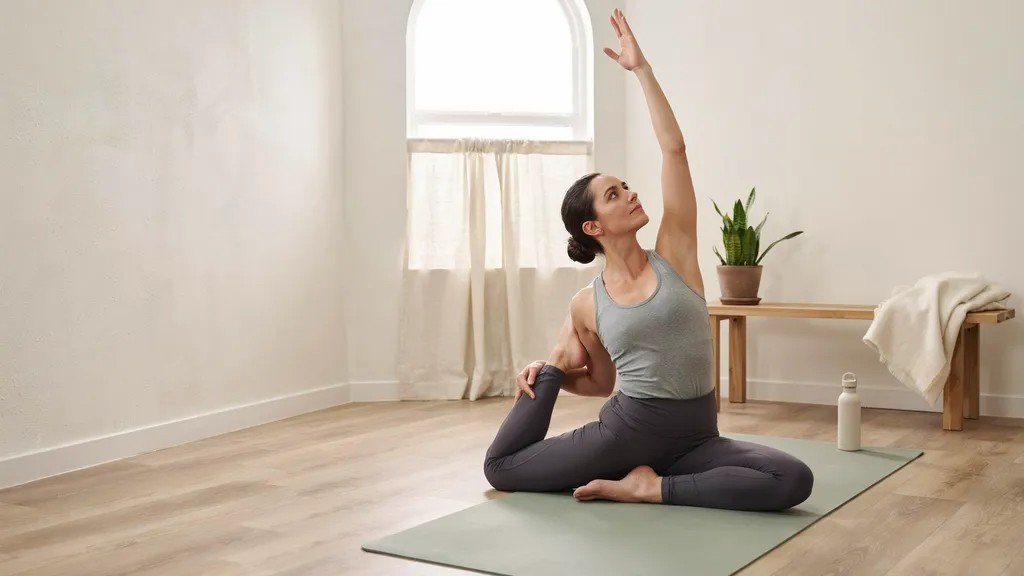
From the basic pose, reach one arm up and twist your chest open to that side. This adds a gentle twist to your spine and opens your chest more.
4. Active Swan Pose
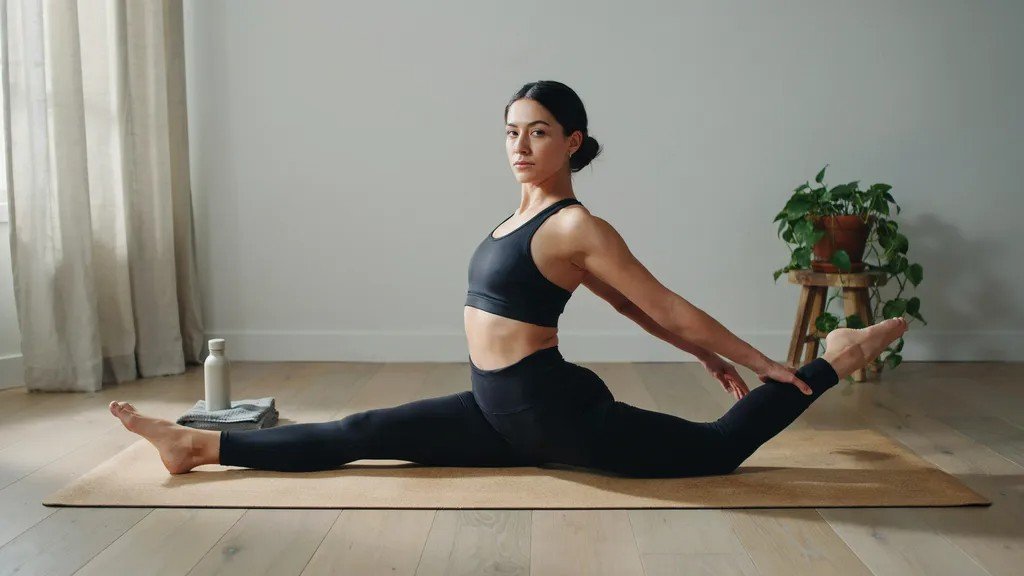
Instead of folding forward, you keep your chest lifted and engage your core. This version builds strength in your hips and glutes instead of just stretching them.
Muscles Stretched and Strengthened in Swan Pose
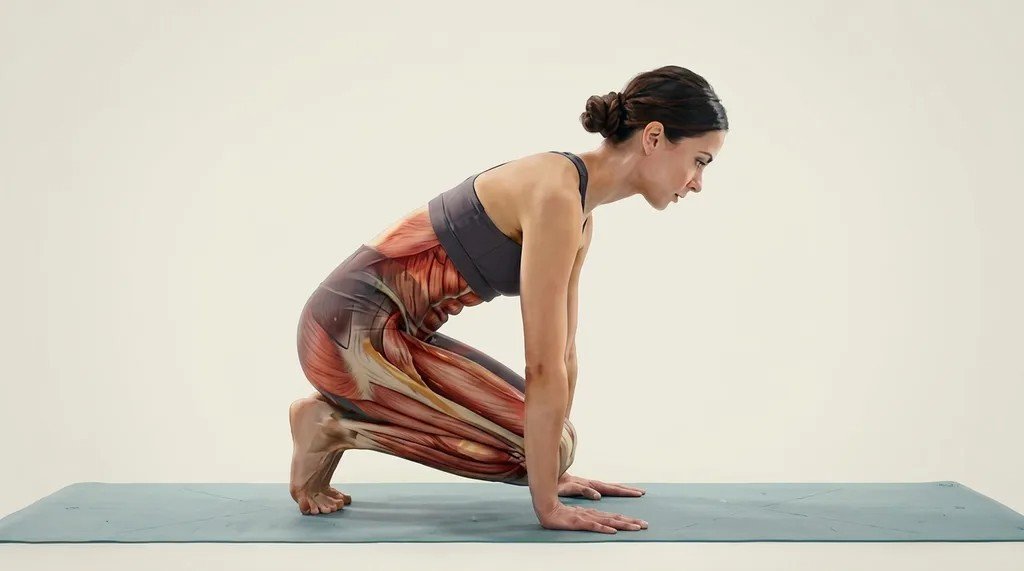
Here is what this pose is actually working on inside your body.
1. Hip Flexors and Glutes
Your back leg stretches the hip flexors on that side. Your front leg, especially the glutes, gets a deep stretch too. This combo helps undo tightness from sitting too long.
2. Outer Hips and Piriformis
The piriformis is a small muscle deep in your outer hip. Swan pose targets this muscle well, which can ease tightness that leads to lower back or sciatic pain.
3. Lower Back and Pelvic Region
As you fold forward, your lower back gets a gentle stretch. This can release tension that builds up from sitting at a desk most of the day.
4. Core and Postural Muscles
Holding your upper body steady, especially in active swan pose, works your core. Over time, this also helps you build better posture.
Precautions and Contraindications
Swan pose is gentle, but it is not for everyone.
Keep these points in mind:
- Skip this pose if you have a recent knee injury
- Talk to your doctor first if you have had hip replacement surgery
- Use extra support if you feel pain instead of a stretch
- Avoid deep twists if you are pregnant
- Stop right away if you feel sharp or shooting pain
- Go slow if you are new to hip opening poses in general
Conclusion
Swan pose taught me that patience matters more than flexibility. When I started, my hips felt stiff and uneven, but small daily practice changed that over time.
This pose gives you a real stretch for your hips, glutes, and lower back, without needing any fancy equipment. You just need a mat, a few minutes, and a willingness to slow down.
Start with the basic pose, then try the variations once your body feels ready. Always listen to your body and skip anything that causes sharp pain. Yoga should feel good, not forced.
I hope this guide makes swan pose easier to understand and safer to practice. Have you tried swan pose before, or will today be your first time?
Frequently Asked Questions
How long should I hold a swan pose?
You can hold it for five to ten slow breaths to start. As you get more comfortable, you can hold it for one to three minutes.
Is swan pose the same as pigeon pose?
They are very similar and share the same basic shape. Swan pose usually uses more support and is held in a slower, calmer way.
Can beginners do swan pose safely?
Yes, beginners can do this pose with the right support. Use blankets under your hip and keep your front shin less angled if you feel tight.
What if I feel pain in my knee during swan pose?
Pain in your knee means you need to ease out of the pose right away. Add more support under your hip or try a gentler variation instead.
How often should I practice swan pose?
You can practice this pose two to four times a week. Give your body rest days in between so your hips can recover.