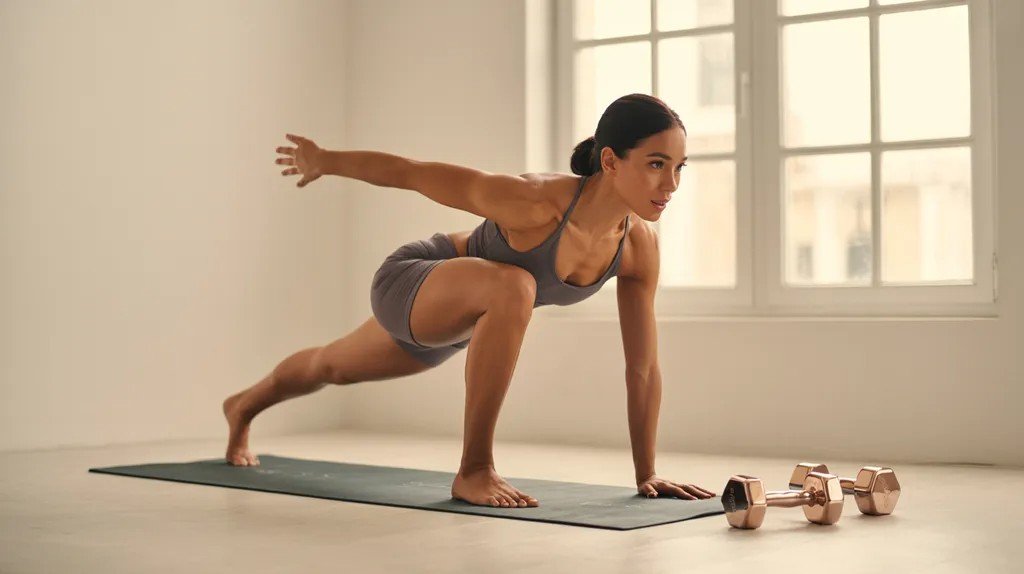
Cardio days used to feel like a chore, until I found a flow that combines strength, sweat, and stretching all at once.
That flow is a yoga sculpt sequence, and it completely changed the way I move through my workouts now.
In this guide, I will take you through an 11-step sequence, start to finish, plus a legs-focused option and a cool down to close it out properly.
I have done this routine more times than I can count, so you are getting something I have actually tested in my own practice, not just a theory pulled from somewhere else.
By the end, you will have a full 30 to 45 minute workout ready to follow, no extra planning needed at all.
What Is a Yoga Sculpt Sequence
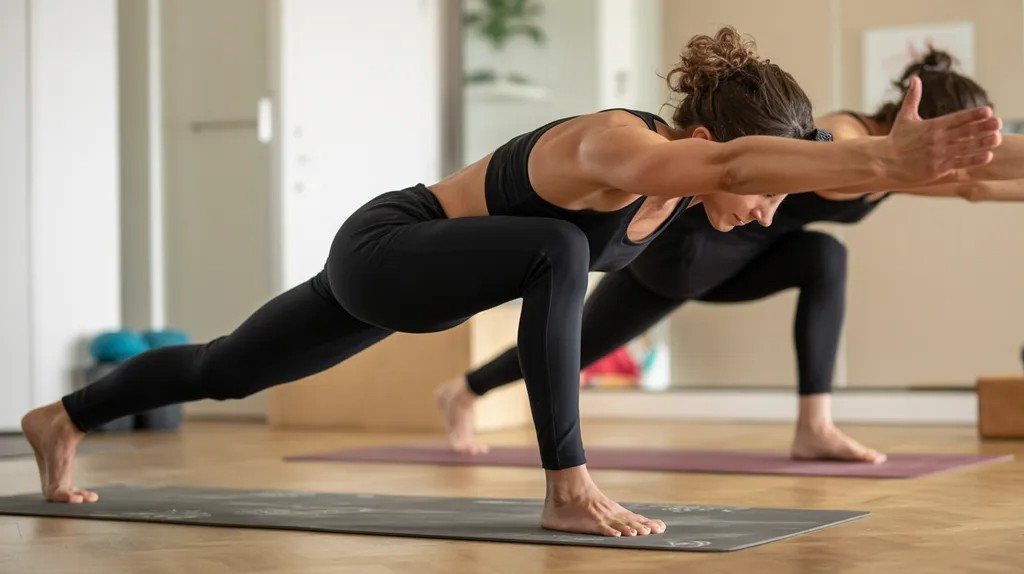
A yoga sculpt sequence mixes traditional yoga poses with strength training moves into one single flow.
Instead of holding a pose and moving on, you add pulses, holds, and small bursts of cardio along the way.
This combination works your muscles while you stretch and breathe at the same time. I think of it as a workout that does double duty, since you get flexibility work and strength work in one session.
You do not need a gym for this, just a mat and some open floor space. Light dumbbells help, but they are never a must. It is yoga with extra effort built in.
How to Follow This Yoga Sculpt Sequence
Here is everything you need to know before you start this sequence.
Total time: This sequence runs between 30 and 45 minutes from start to finish. Repeat any block if you want to add more time to your session.
Structure: You move through warm-up, strength flow, legs block, cardio, and core. The sequence ends with a cool down to bring your heart rate back down.
Equipment: Light dumbbells are optional for this entire sequence. You can do every move using just your own body weight instead.
Style: This is a follow-along class sequence built for steady movement. There are no breaks needed between any of the steps.
11-Step Yoga Sculpt Sequence
Follow these eleven steps in order for a complete, full-body workout.
1. Mountain Pose Breath Activation
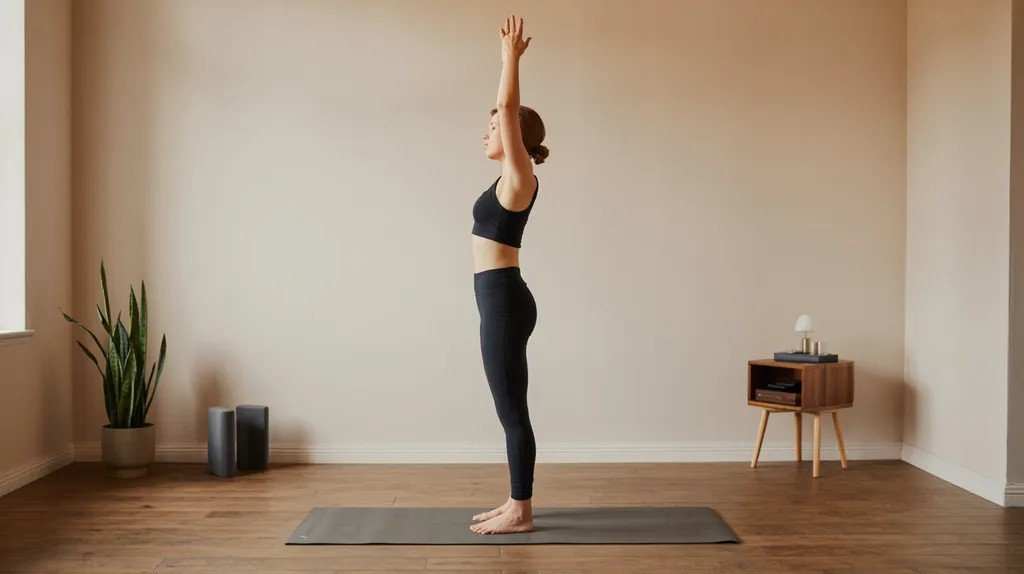
I always start standing tall in mountain pose, feet grounded and shoulders relaxed. This is where you connect your breath to your movement before anything else happens.
Take a few slow breaths here, letting your body settle into the moment. It feels simple, but this small pause sets the tone for the entire sequence ahead. Do not skip it, even if you are short on time.
2. Forward Fold Roll-Up
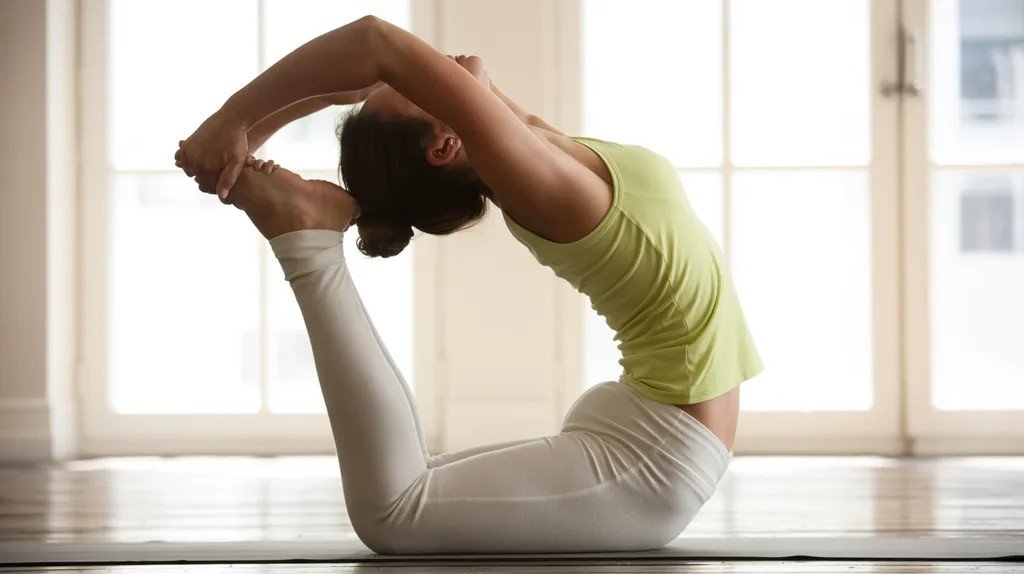
From mountain pose, I slowly roll down into a forward fold, one vertebra at a time. This gentle roll-up warms your hamstrings and loosens your spine before any real work begins.
Keep your knees slightly bent if your hamstrings feel tight that day. Roll back up just as slowly, stacking your spine bone by bone. This step always wakes my whole body up fast.
3. Downward Dog Pedal Stretch
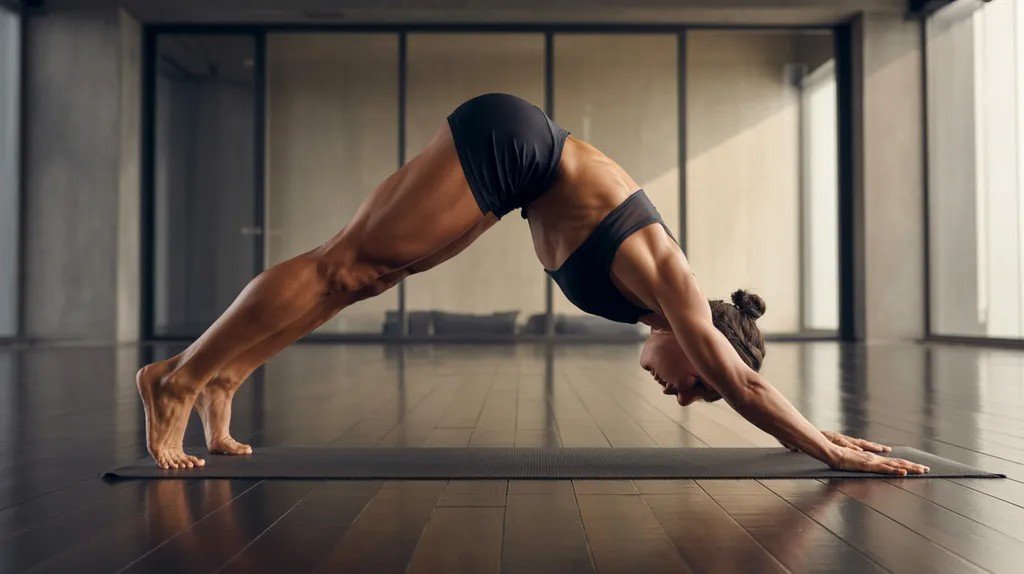
Next, I move into downward dog and start pedaling my feet, one heel at a time. This stretches your calves while waking up your shoulders for the work ahead.
Press your hands firmly into the mat and keep your hips lifted high. I like to hold this for a few breaths before moving on. It is a small step, but it makes a real difference later.
4. Chair Pose Hold + Pulse
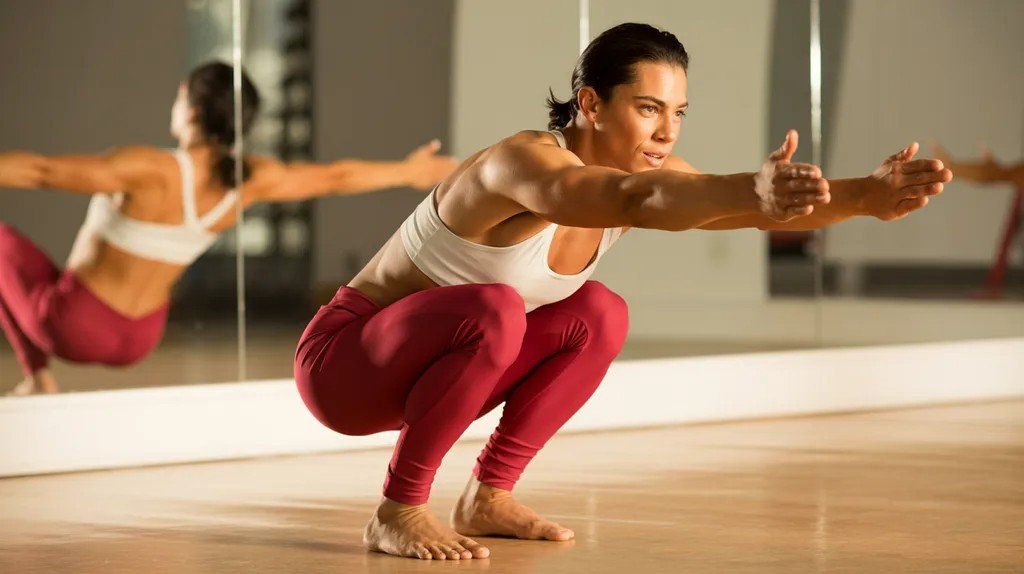
Chair pose is where things start to burn a little. Bend your knees like you are sitting in an invisible chair, then add small pulses to fire up your quads and glutes.
Keep your weight in your heels and your chest lifted the whole time. I usually hold this longer than feels comfortable, since that is where the real work happens. Your legs will thank you later.
5. Crescent Lunge Knee Drive
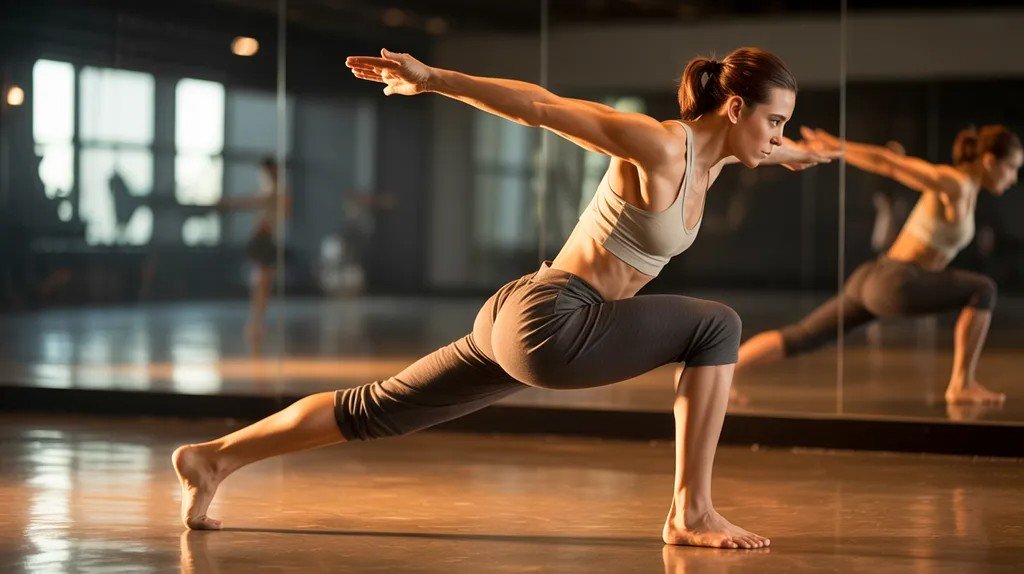
Step one foot back into a deep lunge, then drive your back knee forward toward your chest. This move builds leg strength while testing your balance and core control at once.
Keep your front knee stacked over your ankle as you move. I switch sides evenly so neither leg gets shorted on effort. It feels awkward at first, but it gets smoother with practice.
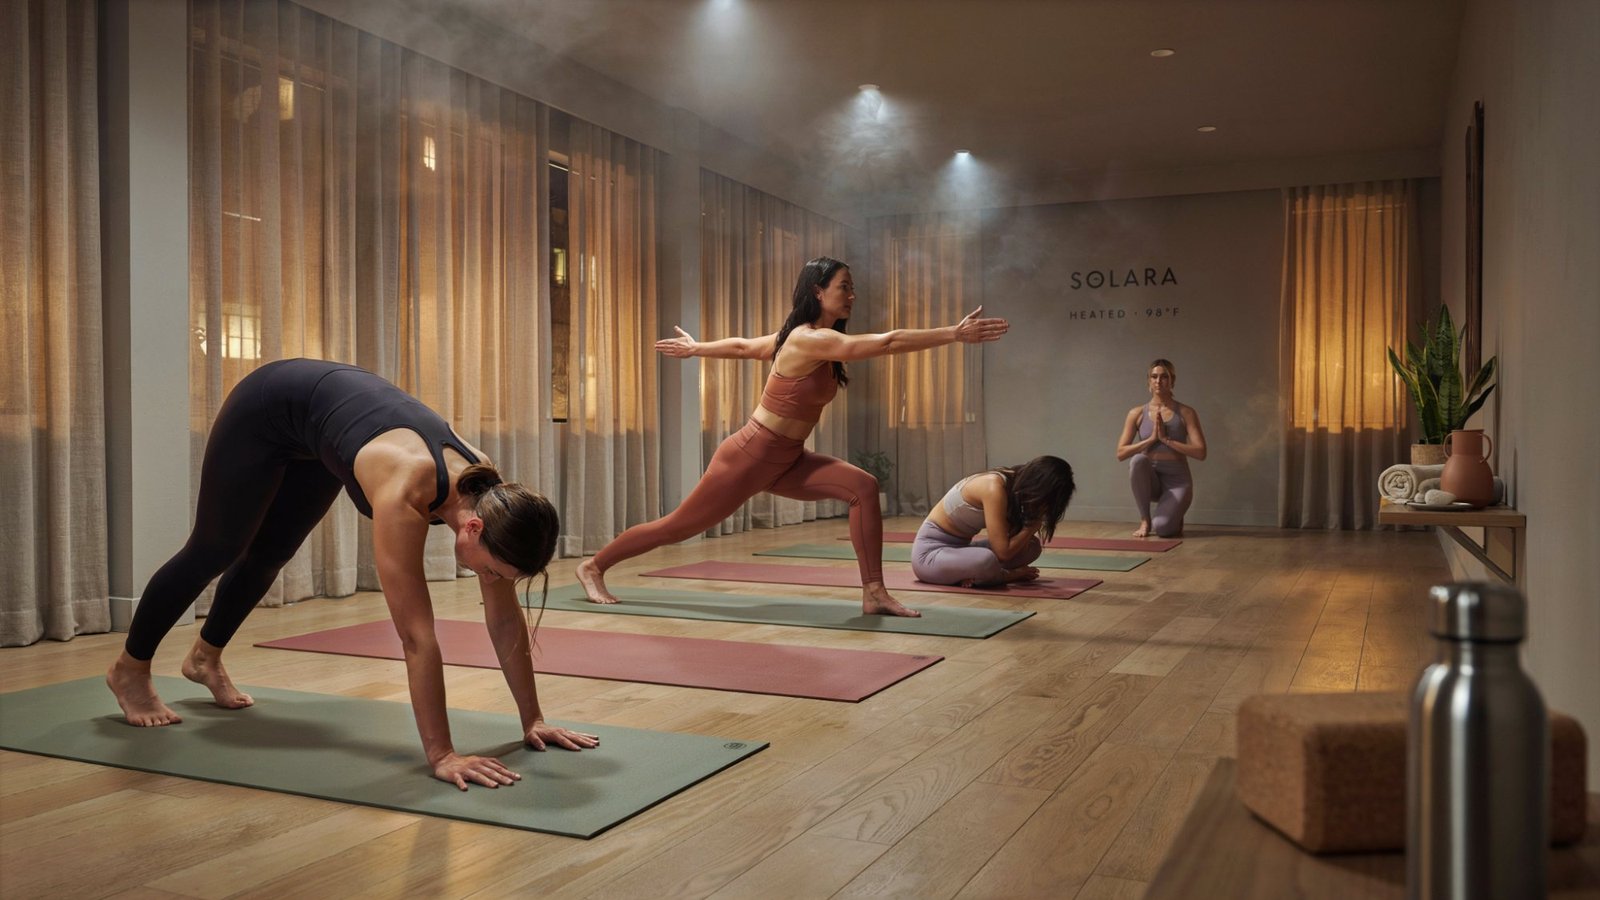
6. Warrior II Flow
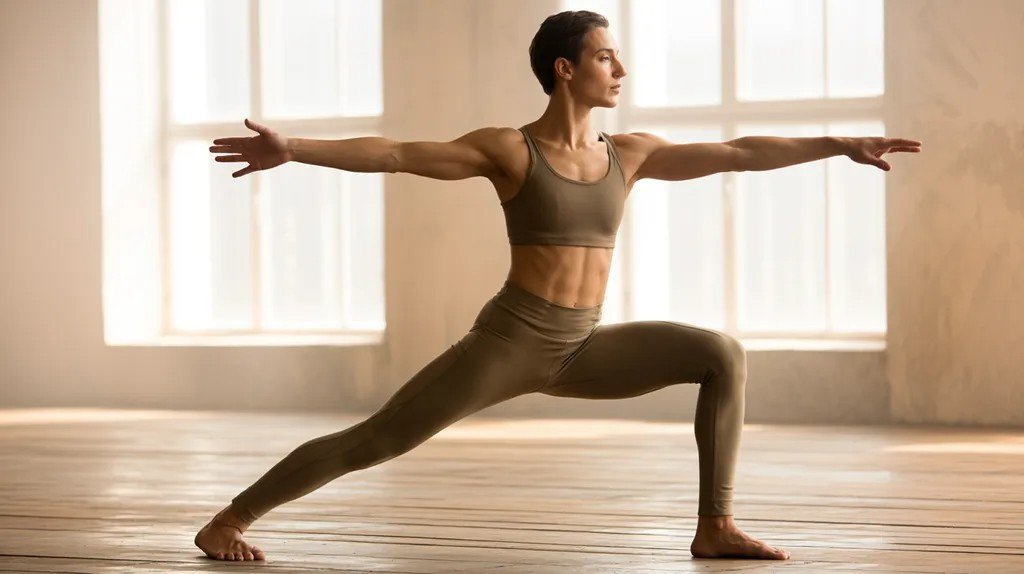
Warrior II is one of my favorite poses in this entire sequence. Open your hips wide, bend your front knee, and stretch your arms out in opposite directions.
This pose strengthens your legs while opening up tight hips at the same time. I flow in and out of it a few times instead of holding it still. Controlled movement here keeps your muscles engaged longer.
7. Horse Pose Squats (Leg Focus Block)
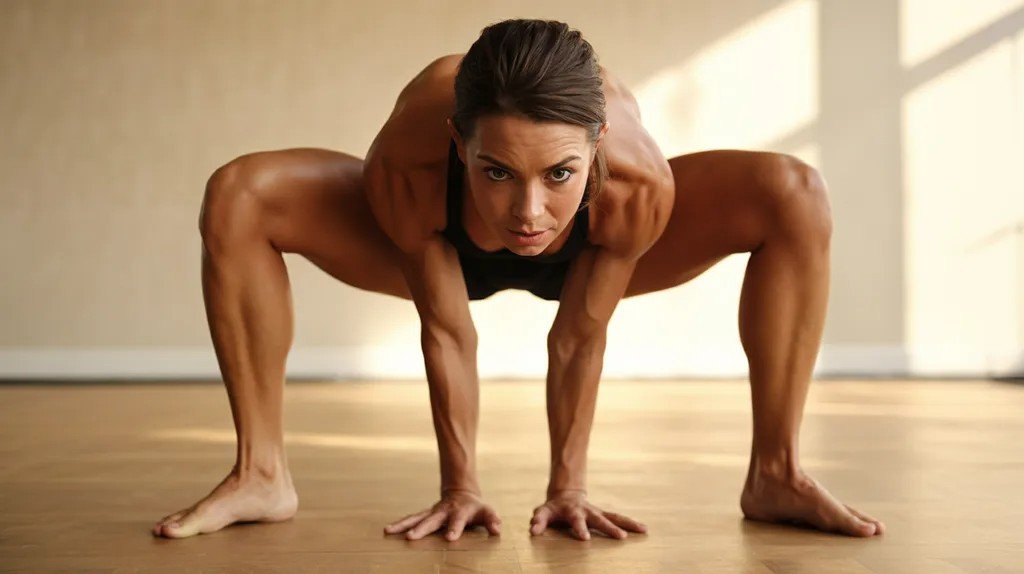
Horse pose squats are where I really feel my inner thighs working hard. Stand with your feet wide and toes pointed out, then sink down low and pulse.
This targets your inner thighs and glutes in a way most poses do not. Keep your chest lifted and your core tight as you move. This one burns, but it works fast if you stick with it.
8. Side Lunge Flow
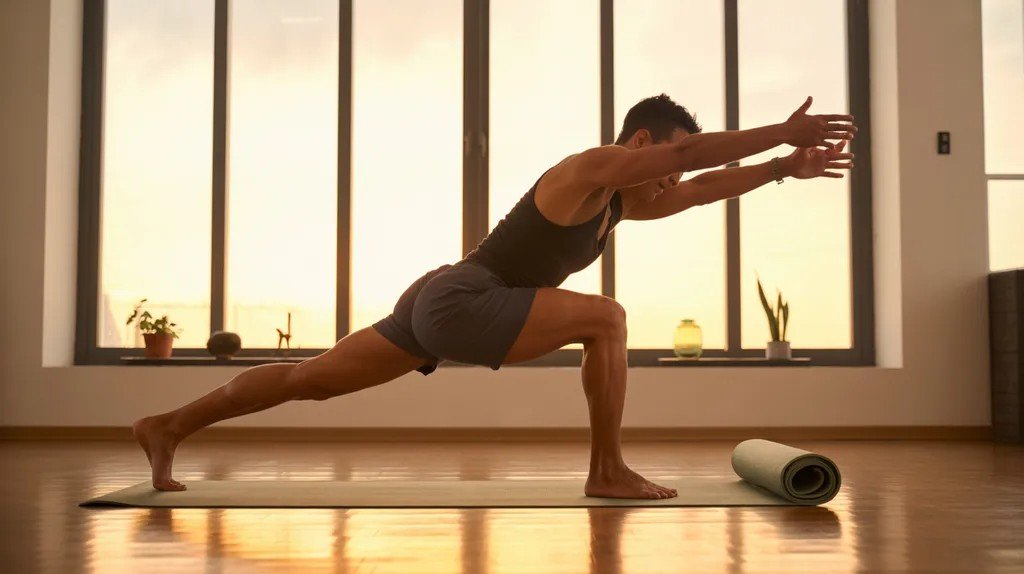
Step out wide into a side lunge, shifting your weight into one bent leg at a time. This move targets your thighs and glutes through side-to-side motion instead of straight up and down.
Keep your standing leg straight as you shift your weight from side to side. I move slowly here to feel every part of the stretch and the strength work together.
9. Cardio Burst (Jumping Jacks / Low Impact Option)
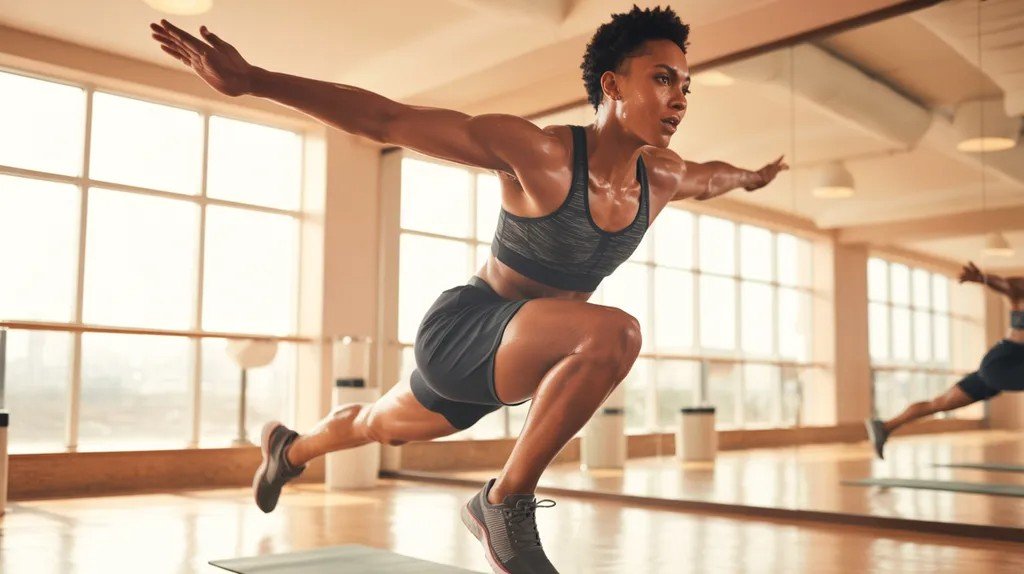
This is your chance to get your heart rate up fast. Jumping jacks work great here, but you can step side to side instead if you want a low impact option.
Either way, keep moving for about thirty seconds to a minute. This burst helps with fat burning and builds your endurance for the rest of the sequence. Push as hard as feels right for you.
10. Boat Pose Core Hold
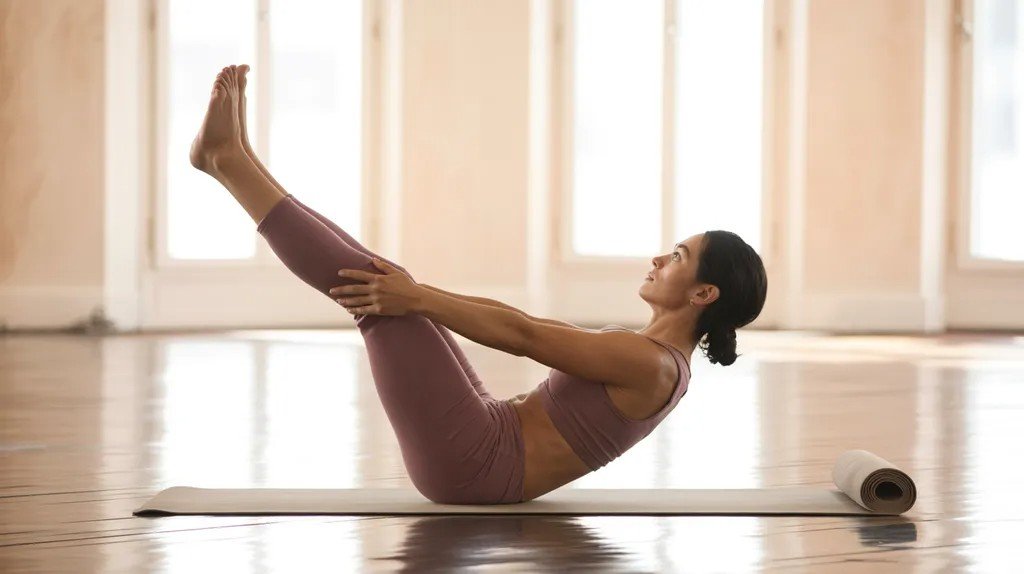
Boat pose is tough, but it works your deep core muscles fast. Sit with your knees bent, lean back slightly, and lift your feet off the ground.
Keep your back straight and your core engaged the whole time you hold this pose. This move also improves your balance over time with regular practice. I hold it as long as I can before my body asks for a break.
11. Forearm Plank Finisher
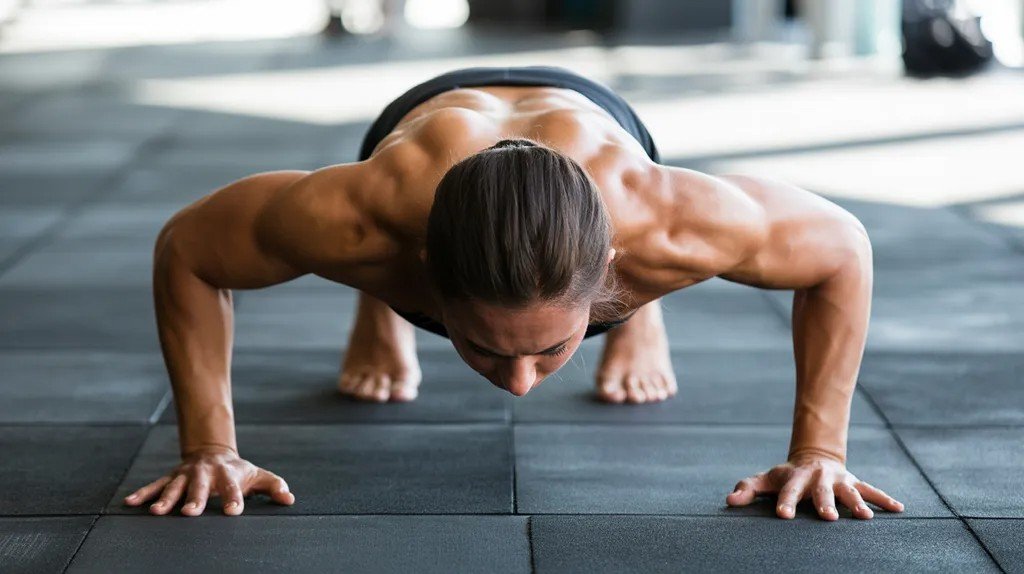
I end the strength block with a forearm plank to bring everything together. Keep your body in one straight line from your head down to your heels.
This finisher engages your entire core along with your shoulders and legs at once.
Hold it as long as you can without letting your hips sag down. It is a tough way to end, but it works every time.
Legs-Focused (Extra Burn Block)
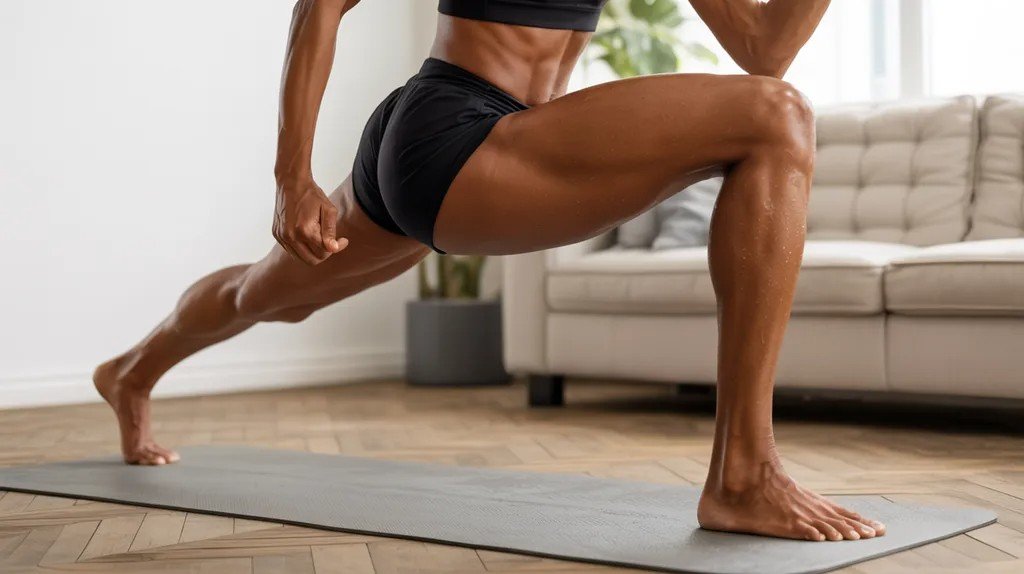
If you want a stronger lower-body focus, you can repeat or extend a few moves from this yoga sculpt sequence.
Add extra chair squat pulses to keep your quads burning longer than before. Hold the horse pose a little longer, or add a wall sit hold for extra time under tension.
Standing kickbacks on each leg work your glutes from a different angle entirely. You can also repeat the side lunges a few more times on each side.
Mixing these moves back in turns a regular session into a real lower-body burner without adding much extra time.
Cool Down Stretch Sequence
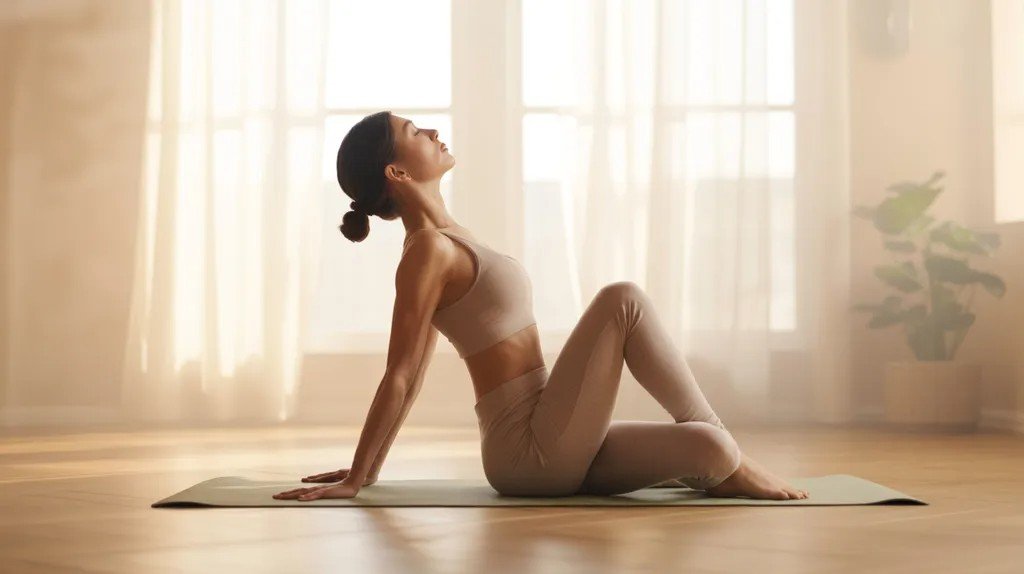
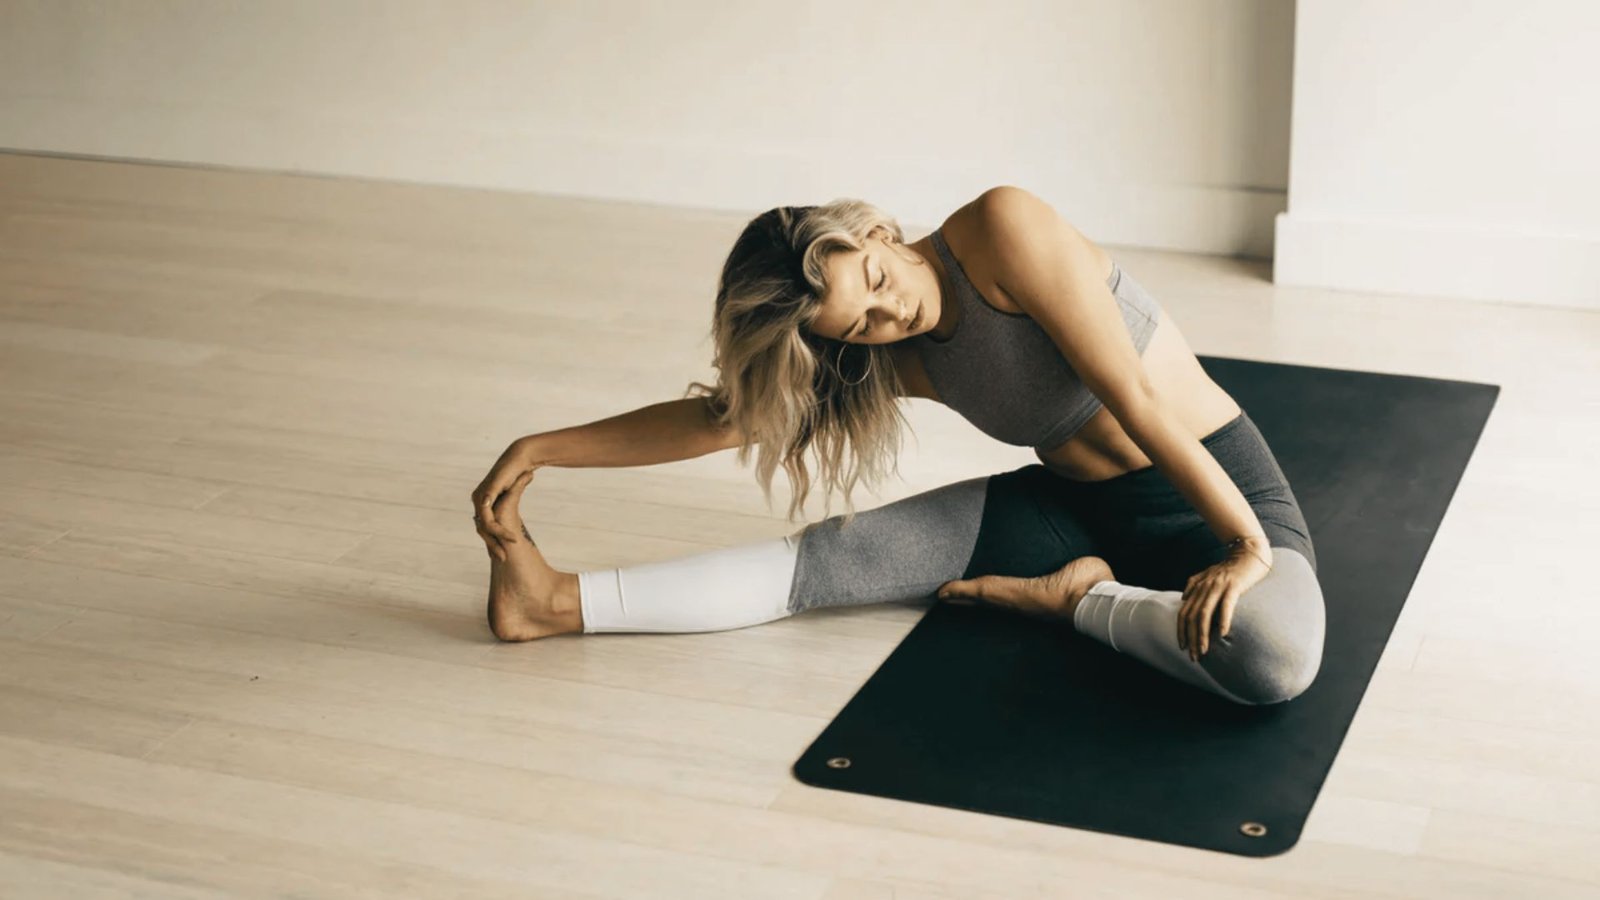
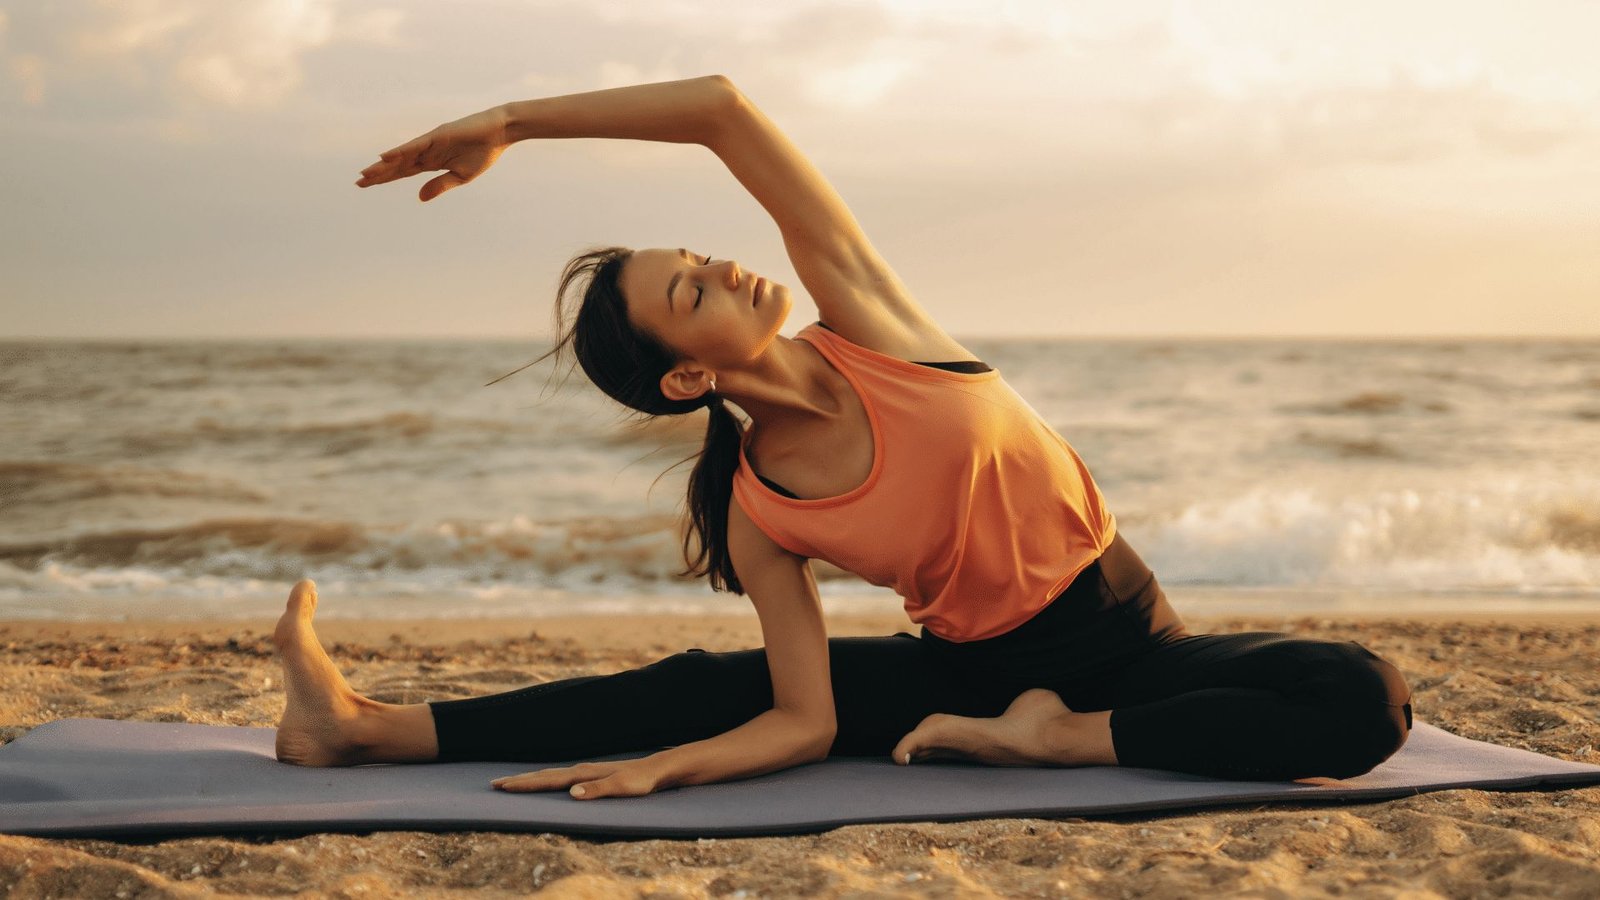
Once the strength work is done, I always slow things down with a proper cool down. Pigeon pose opens up tight hips after all that lunging and squatting.
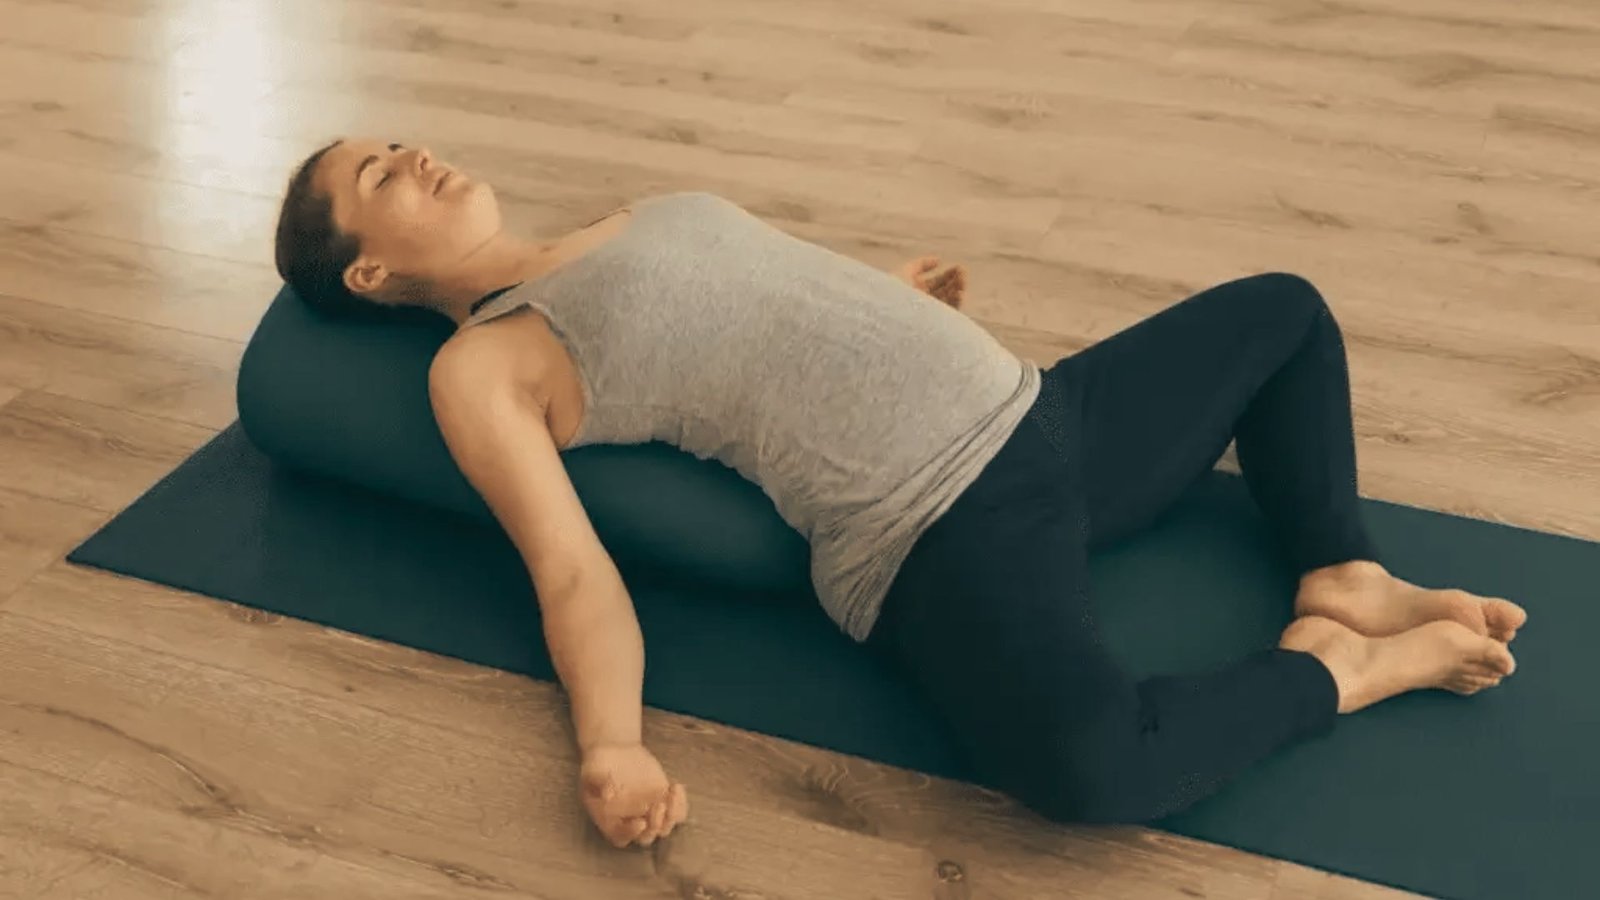
A supine twist releases tension along your spine while you lie flat on your back. A happy baby pose works wonders for a tight lower back after a hard session.
Finish with a forward fold, letting your whole body relax and your breath settle.
This part of the sequence matters just as much as the strength work, even though it feels much slower and quieter.
Tips to Use This Yoga Sculpt Sequence
A few small adjustments make this sequence work better for your own goals.
- Follow it once for a quick 30-minute workout
- Repeat or extend it for a full 45-minute session
- Focus on the legs block if you want more lower-body work
- Move slowly if you are a beginner, or pick up the pace for more intensity
- Keep light dumbbells nearby if you want extra resistance on strength moves
Conclusion
My first time through this yoga sculpt sequence, I could barely get through the cool down without stopping to catch my breath.
These days, it is one of my favorite ways to move, since it covers strength, cardio, and stretching all in one single session.
Give it a try the next time you want a complete workout without much planning involved.
If this helped you, leave a comment below and share how it felt for you and your own practice.
Frequently Asked Questions
How long does a yoga sculpt sequence take?
Most sessions run between 30 and 45 minutes, depending on how much you repeat.
Do I need equipment for this sequence?
No, light dumbbells are optional, and you can do the entire flow with just your body weight.
Is this sequence good for beginners?
Yes, just slow your movements down and skip the pulses if any pose feels too intense.
Can I do this sequence every day?
You can, but I recommend resting at least one day between sessions to let your muscles recover.
What makes yoga sculpt different from regular yoga?
It blends strength training moves into traditional poses, so you build muscle while you stretch.