I still remember the first time I tried Dancer Pose Yoga. My balance wobbled, my arm shook, and I almost gave up.
But with a few small fixes, the pose started to feel steady and natural. That is exactly what this guide will help you do.
In this article, you will learn what Dancer Pose Yoga is, its benefits for your body and mind, and a simple step-by-step way to practice it.
We will also cover common mistakes, safe modifications, and alignment tips for beginners.
I have practiced yoga for years, and I know how confusing a new pose can feel at first. By the end, you will know exactly how to hold this pose with confidence.
What is Dancer Pose Yoga (Natarajasana)?
A simple look at the meaning, history, and who this pose is best suited for.
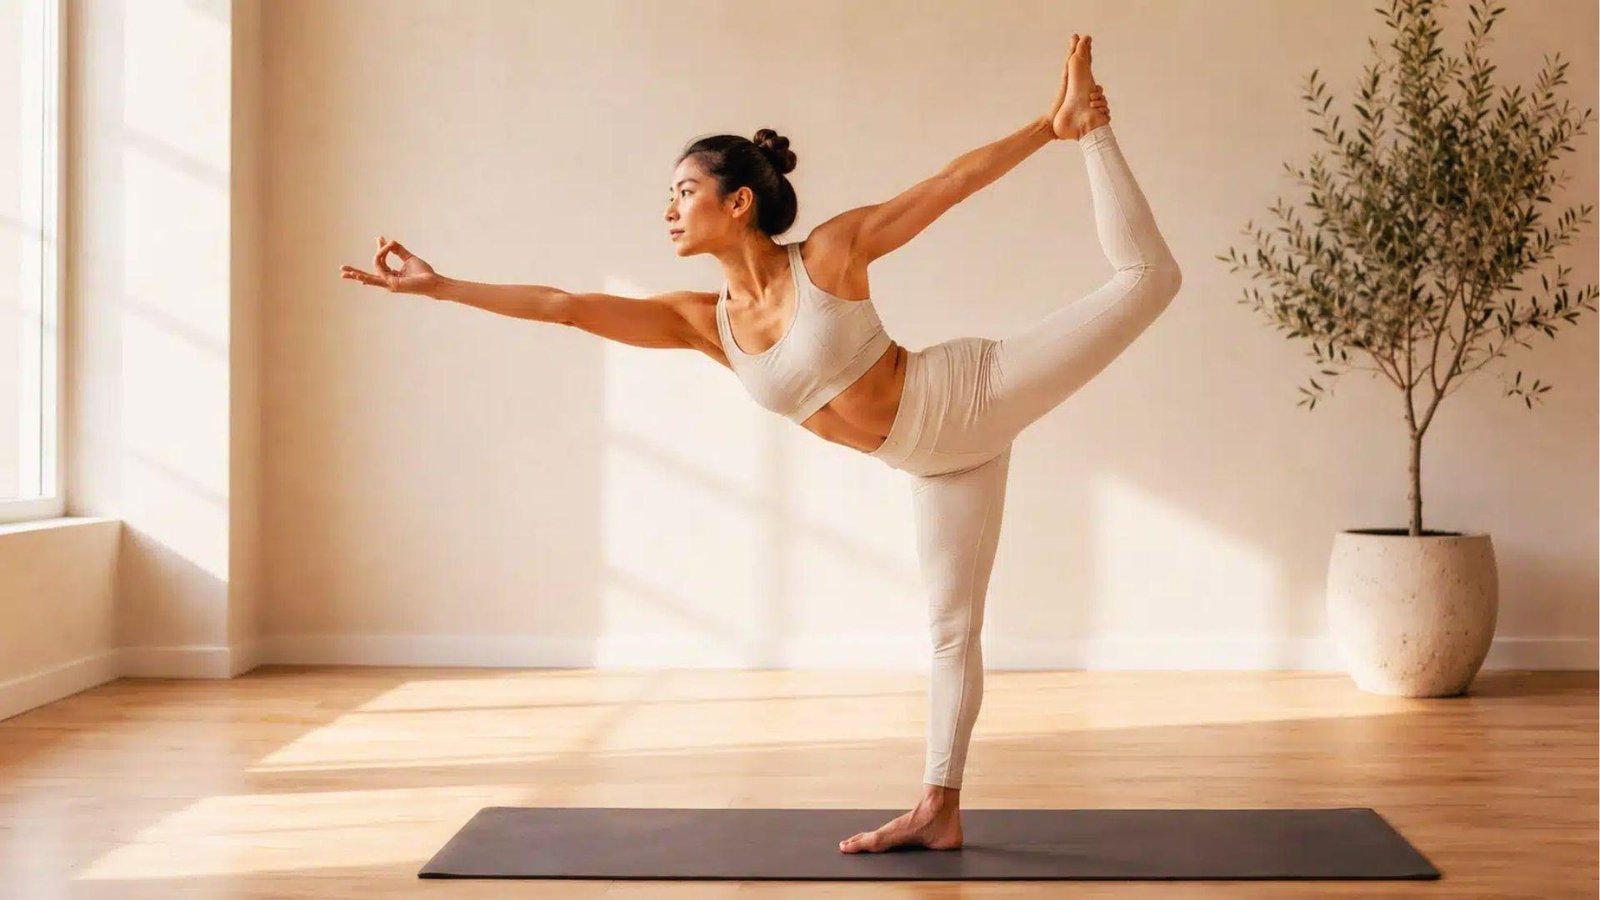
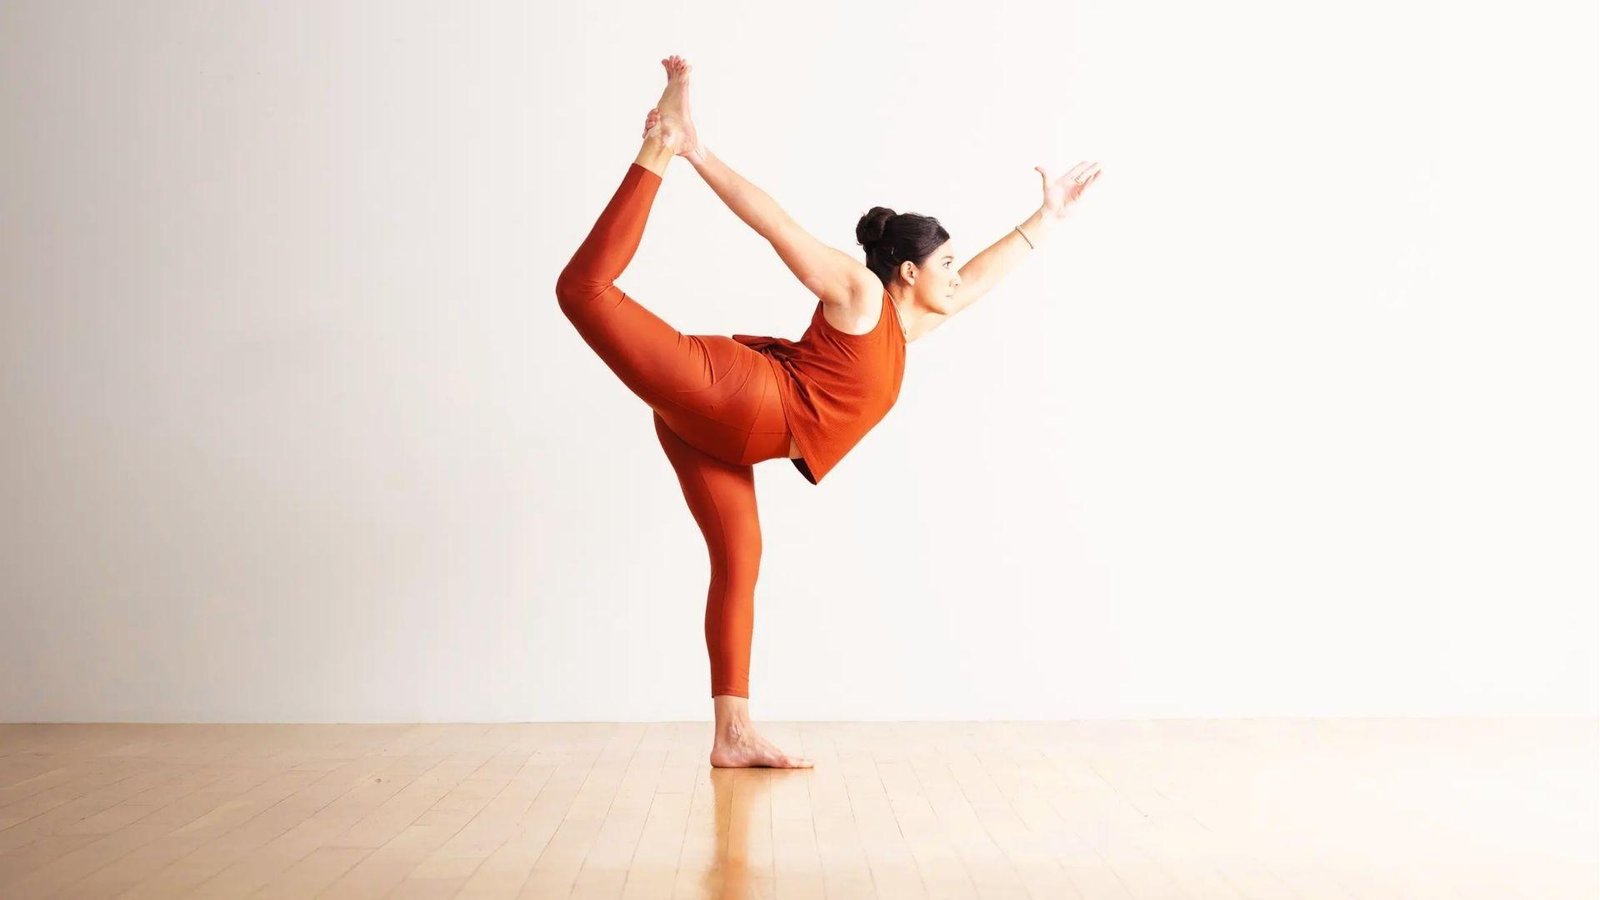
Dancer Pose Yoga comes from the Sanskrit word Natarajasana, named after Lord Shiva in his form as the cosmic dancer.
The pose blends balance with a deep backbend and a forward reach, copying the dance posture of Shiva himself.
His dance shows movement, energy, and calm control all at once, and that mix of strength and grace gives the pose its name as the Lord of the Dance Pose.
This pose works best for people with steady balance and some yoga experience already.
It is best to skip it if you have a recent leg, back, or shoulder injury, and pregnant women should also avoid practicing it.
Dancer Pose Yoga Benefits for Body and Mind
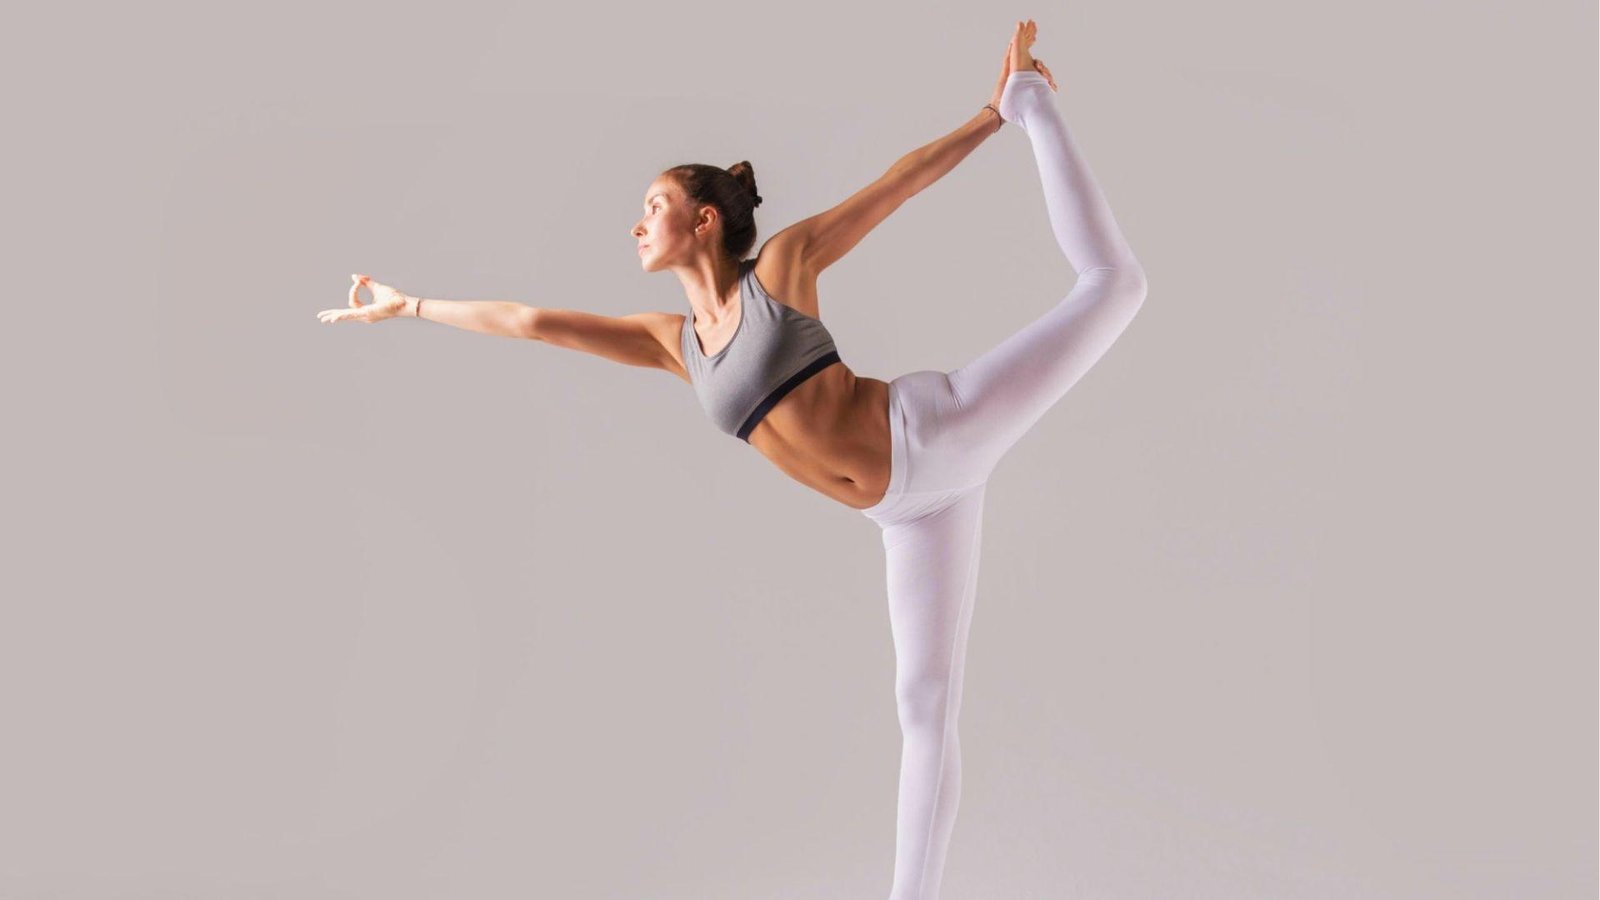
Here is how this pose helps your strength, balance, posture, and focus over time.
Improves Balance, Stability, and Coordination
Standing on one leg trains your brain and muscles to work together. The small muscles around your ankle and foot fire up to keep you steady.
With regular practice, your balance gets noticeably better over time. This steadiness carries into daily life, on the mat and off it.
Strengthens Legs, Glutes, Core, and Back
Holding the pose works your standing leg, glutes, core, and lower back all at once. Your standing leg muscles fire hard to support your full body weight.
Your core stays tight to keep you from tipping forward or sideways. This builds real strength in your body, not just a passing stretch.
Increases Flexibility in Hip Flexors and Quadriceps
The backward lift in this pose stretches the front of your hip and thigh deeply. Your hip flexors and quadriceps slowly loosen up as you hold the position.
Over time, this can ease the tightness that comes from sitting too long each day. Looser hips can also make other yoga poses feel easier.
Opens Chest and Shoulders for Better Posture
Reaching the arm forward while lifting the chest gently opens up tight shoulders. This movement counters the forward rounding that comes from desk work and phone use.
Your spine gets a gentle extension as your chest lifts and opens. Over time, this can help fix a rounded, slouched posture.
Builds Focus, Confidence, and Body Awareness
Balance poses ask for your full attention, with no room for a wandering mind. Staying present in the pose can calm a busy or stressed mind quickly.
Each small wobble teaches you to adjust and find your center again. This builds quiet confidence that often carries into other parts of life.
How to Do Dancer Pose Yoga (Step-by-Step Guide)
Follow these simple steps to move into the pose safely and with good form.
Step 1: Start in Mountain Pose (Tadasana)
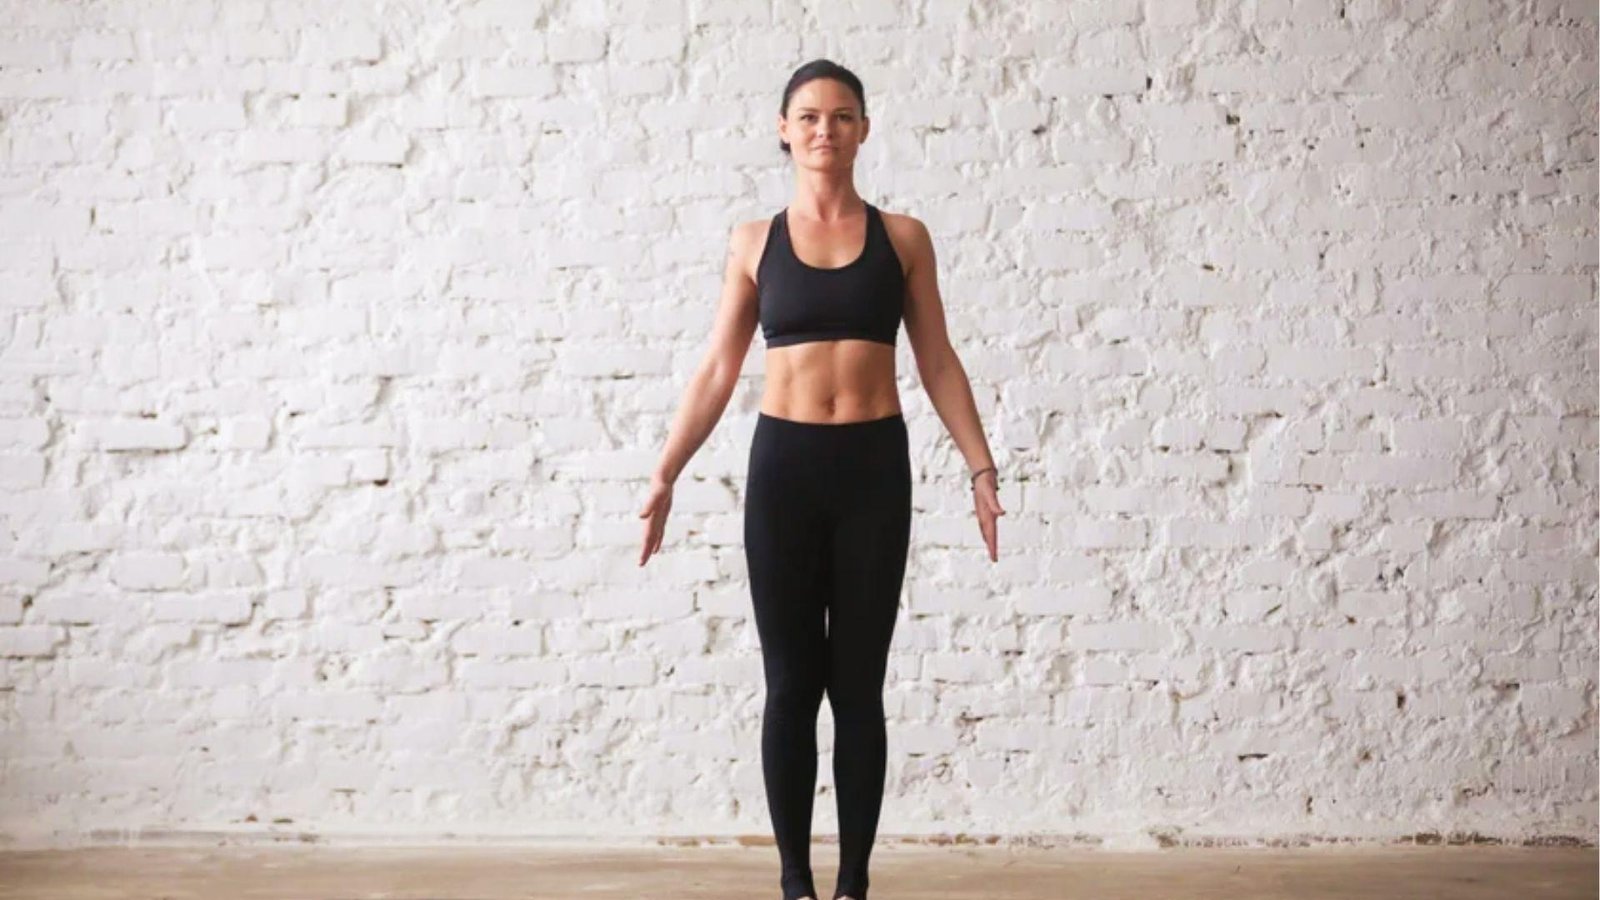
Stand tall with your feet together and your arms resting by your side. Keep your weight even and balanced across both feet.
Relax your shoulders down and away from your ears. Take one slow, steady breath before you begin moving.
Step 2: Shift Weight onto One Leg
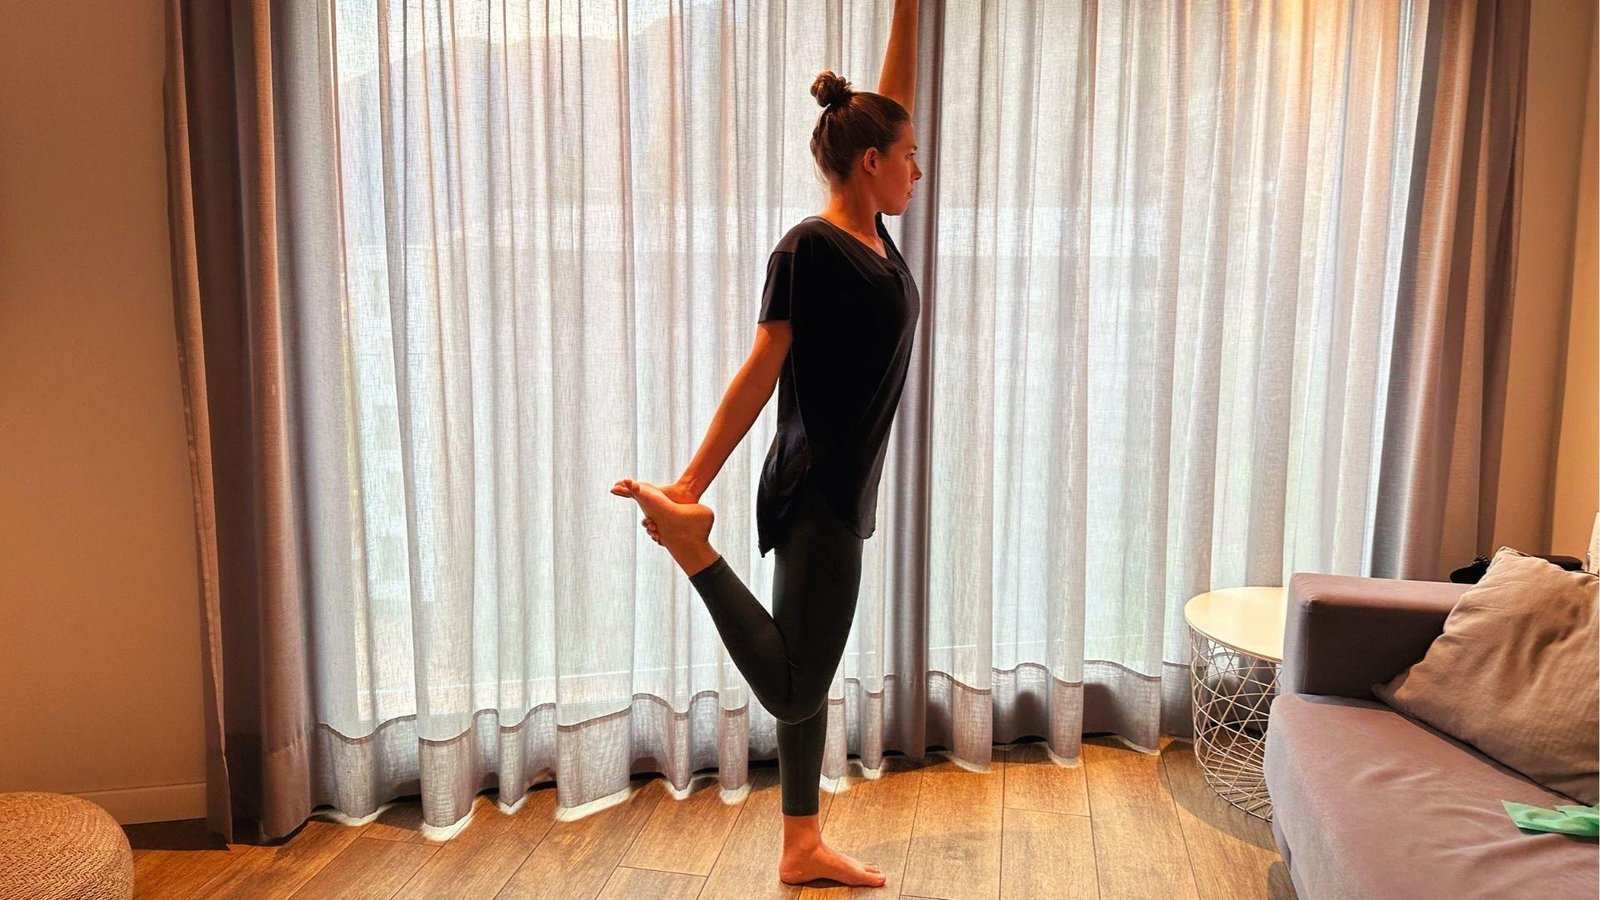
Slowly move your full body weight onto your right foot. Keep a soft, gentle bend in that standing knee.
Press your foot firmly into the mat for a stable base. Fix your gaze on one steady point ahead of you.
Step 3: Bend the Back Knee and Grab the Foot
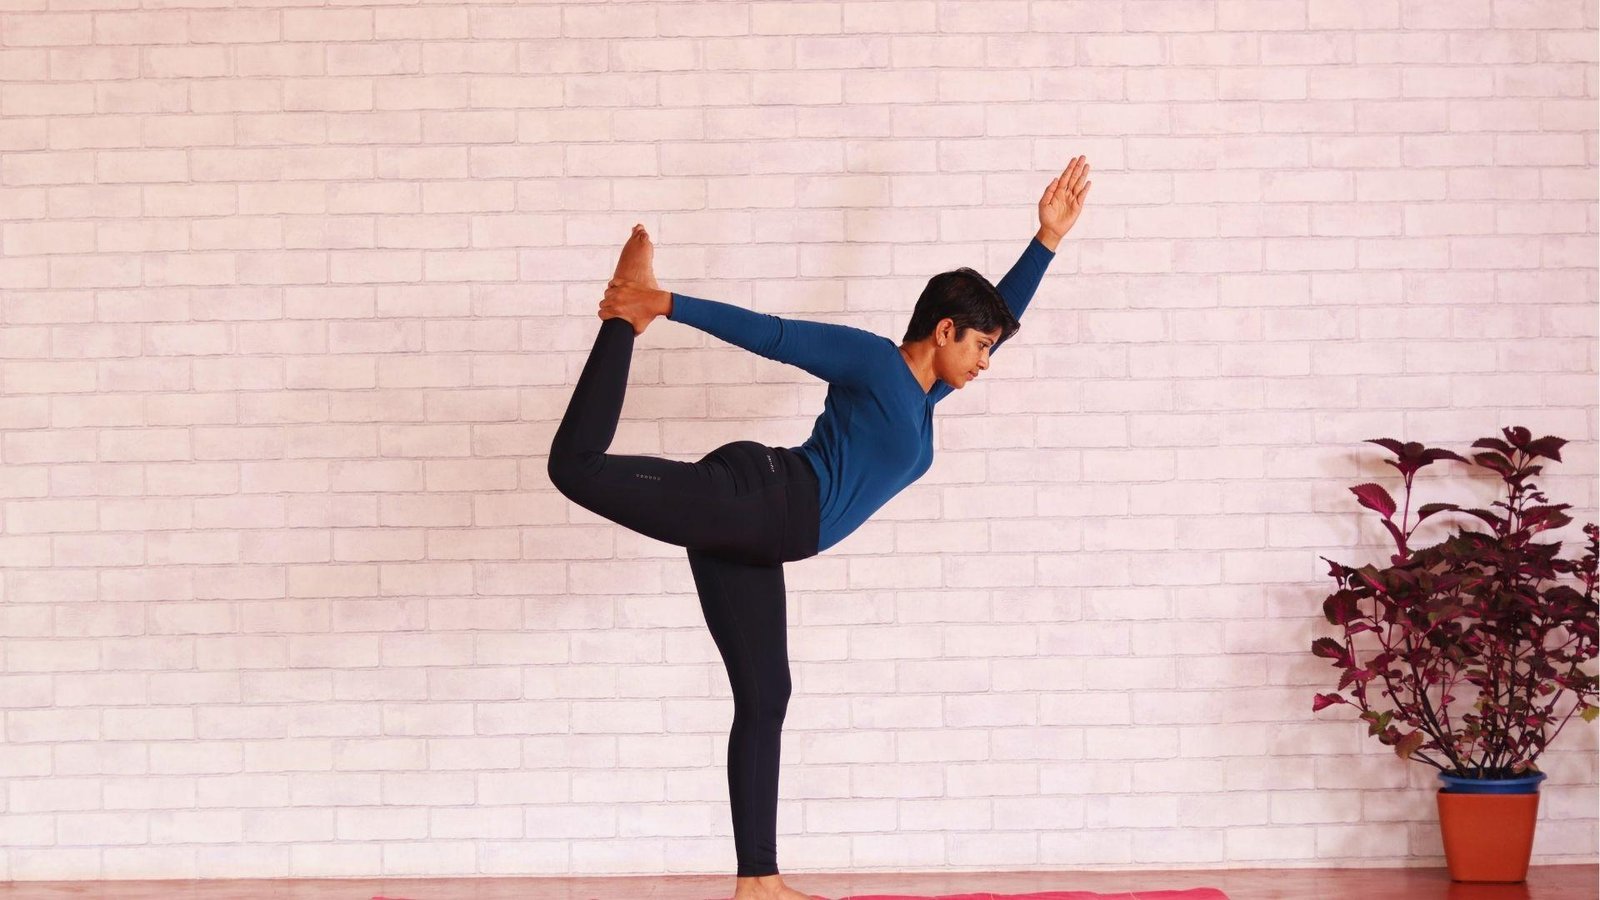
Bend your left knee and bring your heel up toward your hip. Reach back with your left hand to hold your foot or ankle.
Keep your knees close together rather than letting them spread apart. Hold the grip firmly but without straining your wrist.
Step 4: Engage Core and Find Balance
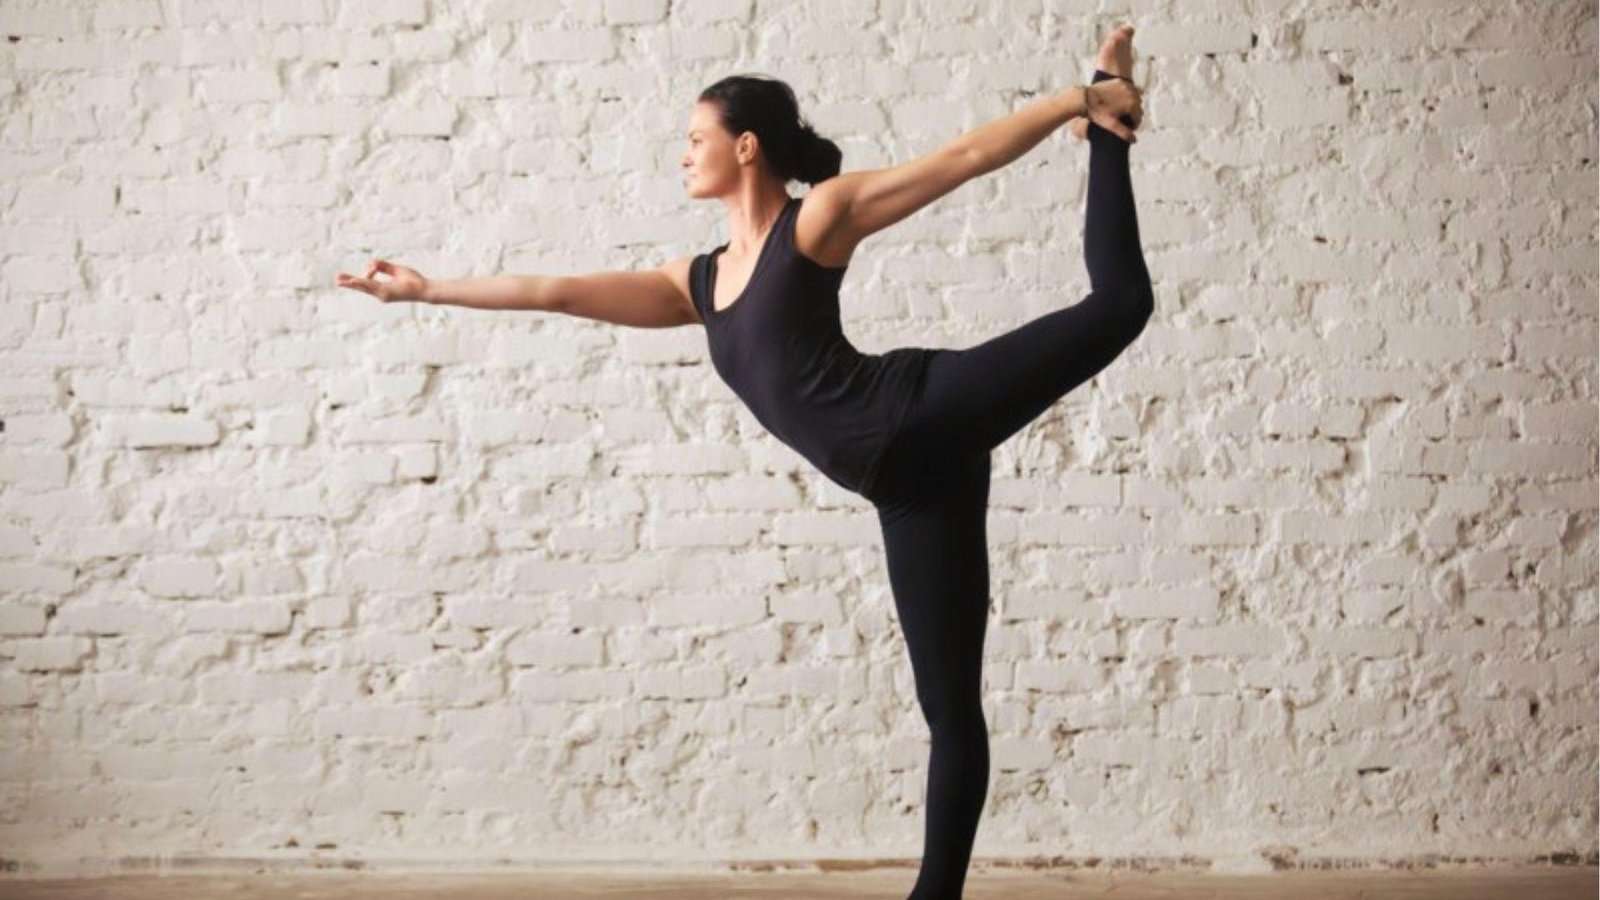
Pull your belly in gently toward your spine for support. This small action keeps your whole body steady and centered.
Find your balance fully before you attempt to lift the leg higher. Breathe steadily instead of holding your breath during this step.
Step 5: Lift the Leg Back and Open the Chest
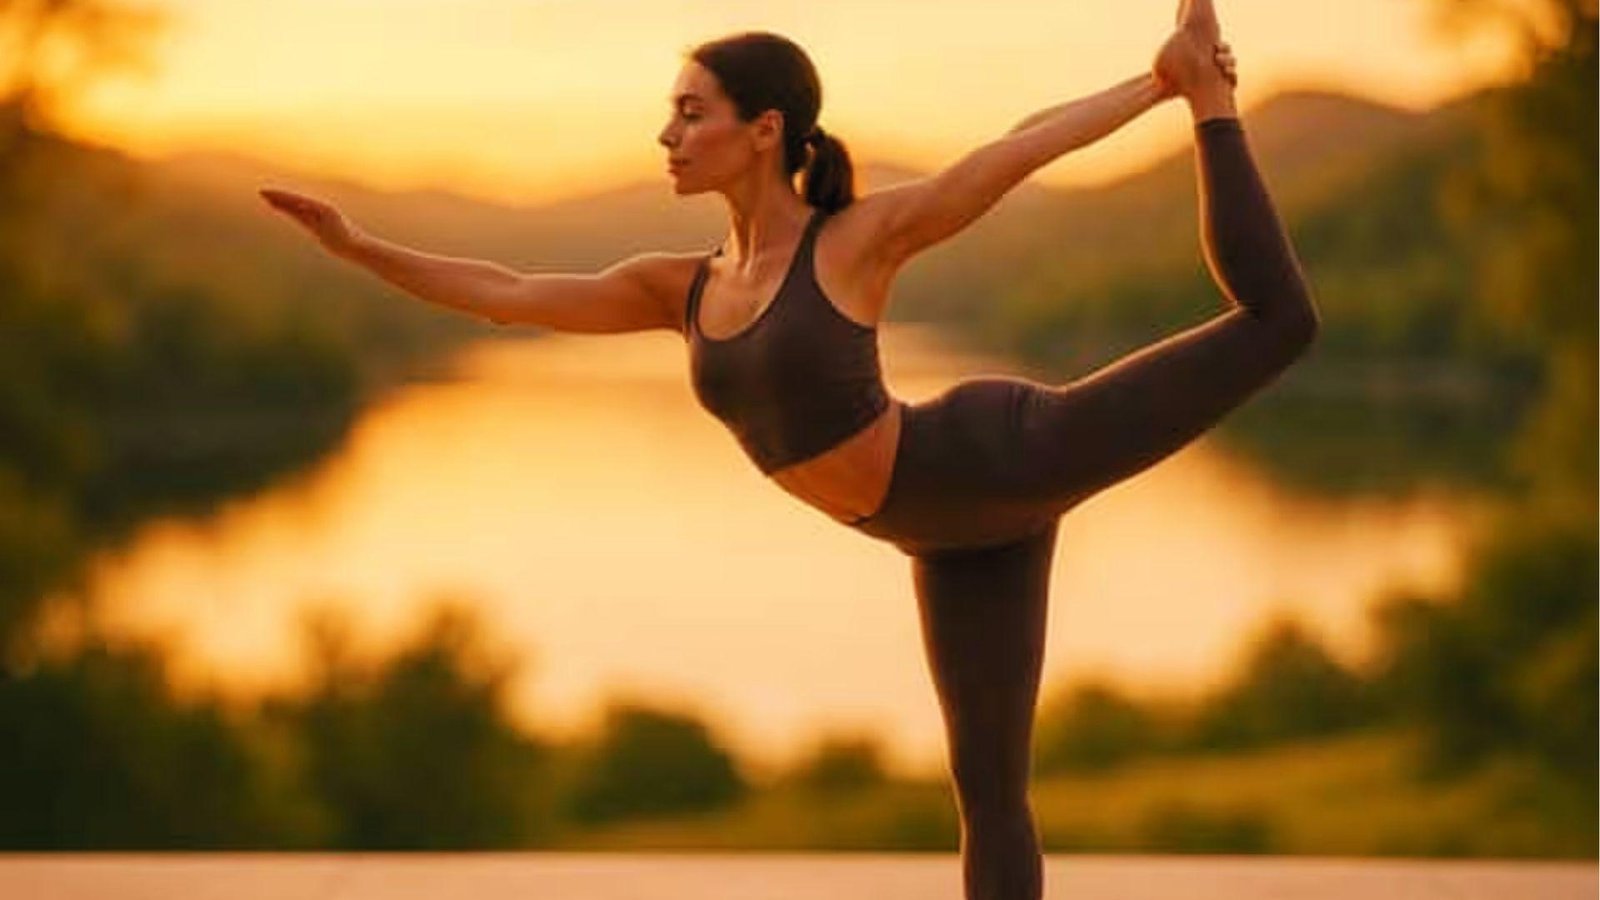
Lift your back leg up slowly as you lean your chest forward. Open your chest toward the front of the room as you lift.
Keep your hips square instead of letting them twist to one side. Move slowly so your body can adjust at each stage.
Step 6: Extend the Free Arm Forward
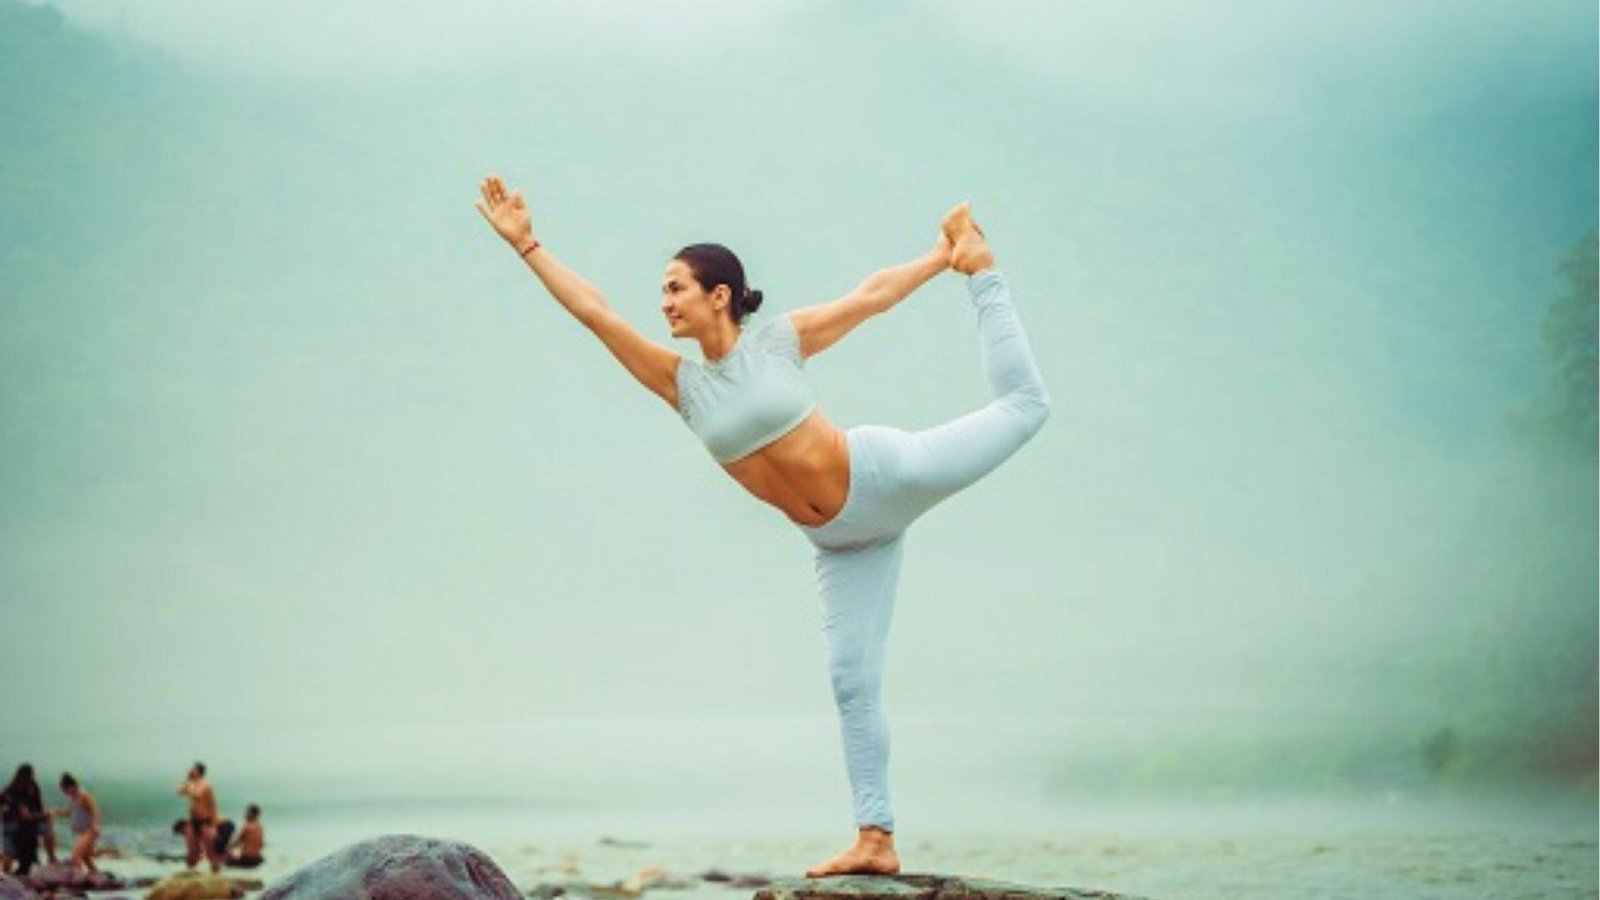
Stretch your right arm out in front of you, level with your shoulder. Keep your fingers relaxed instead of clenched tightly together.
This arm helps balance the weight of your lifted back leg. Picture a straight line running from your fingertips to your back foot.
Dancer Pose Yoga Beginner Alignment Tips
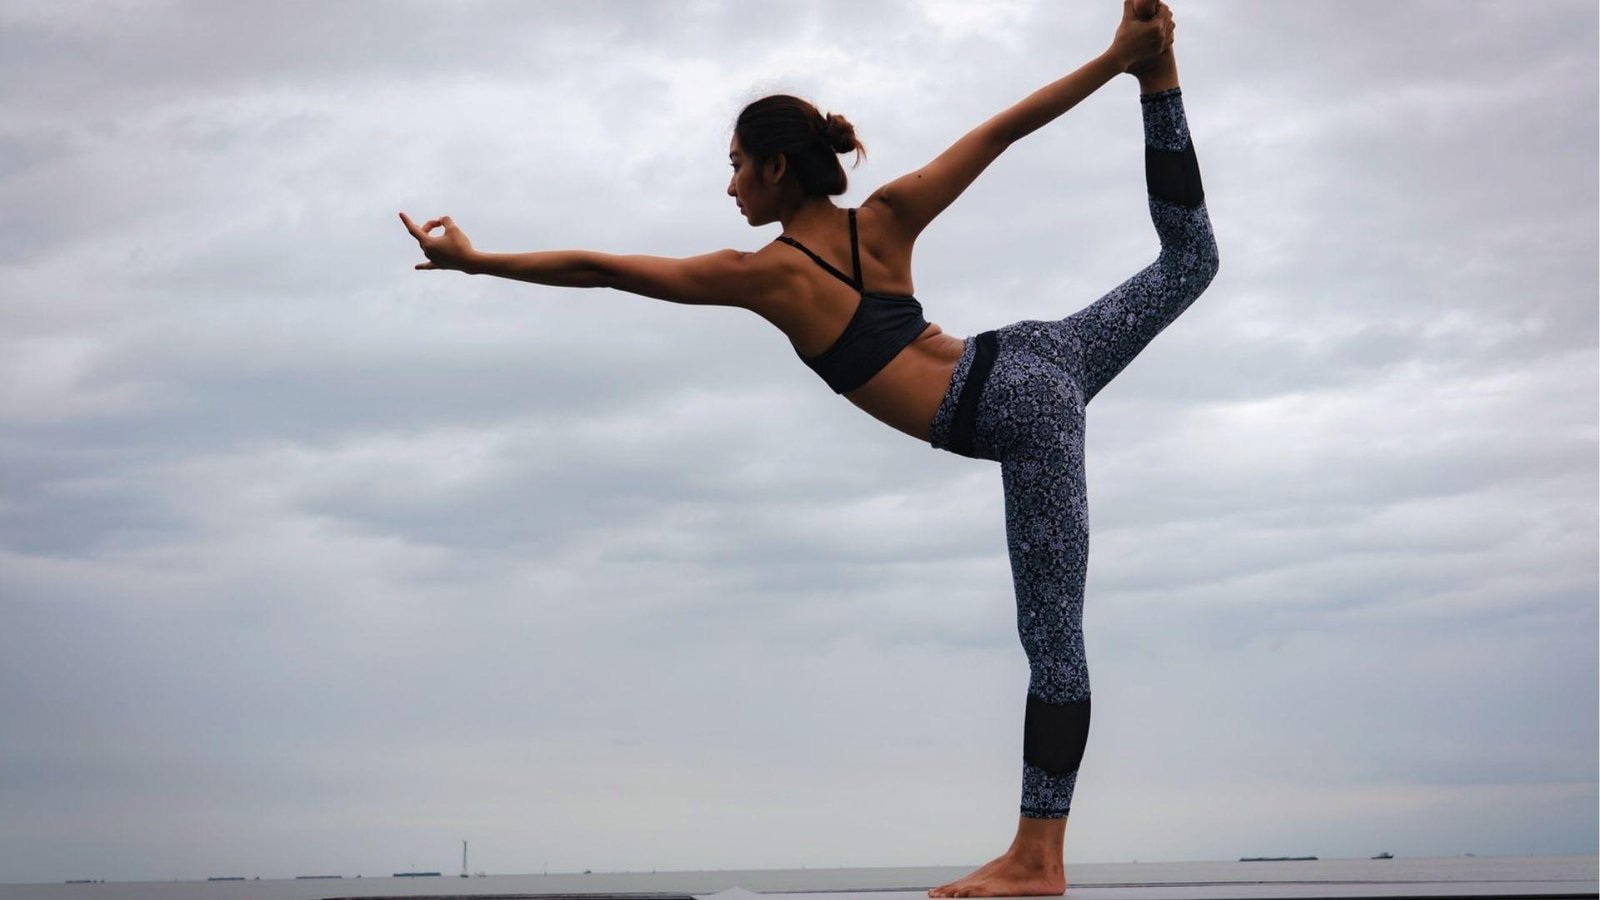
Small alignment fixes that make this pose feel safer and more steady for beginners.
Keep Hips Square and Standing Knee Soft
Point both hip points toward the front of your mat and avoid letting them twist to the side.
Keep a soft bend in your standing knee instead of locking it fully, since this protects the joint. Many beginners lose this alignment first, so check it often during the pose.
Engage Core and Distribute Weight Evenly
Draw your navel in gently so your lower back does not overarch or strain. Spread your weight evenly across the whole standing foot, not just the heel or toes.
A steady core paired with even foot pressure gives you a much stronger base.
Proper Grip and Chest Control
Hold the inside of your foot or ankle with a full grip, not just your fingertips. Lift your chest with control instead of letting it collapse or your back overarch.
A firm grip and a lifted chest work together to keep the whole pose steady.
Modifications and Safety Tips for Dancer Pose Yoga
Helpful ways to adjust this pose so it fits your body and comfort level.
- Loop a yoga strap around your back foot if your hand cannot reach it yet.
- Stand near a wall or chair and hold it lightly until your balance improves.
- Hold the back foot with a bent knee close to the body instead of lifting high.
- Skip this pose if you have a recent injury, dizziness, or low blood pressure issues.
- Warm up first and move slowly, stopping right away if you feel any sharp pain.
Conclusion
Dancer Pose Yoga taught me patience more than anything else. I fell out of it more times than I can count before it finally felt steady.
If you are just starting, give yourself the same grace. Try it on your mat today, even if it feels wobbly at first.
Notice how your balance shifts with each try. I would love to hear how your practice goes, so drop a comment below and share your experience.
If this guide helped you, share it with a friend who loves yoga too, and check out more poses on the blog.
Frequently Asked Questions
Is Dancer Pose Yoga good for beginners?
Yes, with practice and patience. Start with support from a wall or chair until your balance feels steady.
How long should I hold Dancer Pose Yoga?
Hold each side for about five slow breaths. As balance improves, you can hold it a bit longer.
What muscles does Dancer Pose Yoga work?
It works your legs, glutes, core, back, chest, and shoulders. It also trains balance and focus.
Can I do Dancer Pose Yoga every day?
Yes, you can practice it daily if your body feels fine. Rest if you feel pain or strain.
What is the Sanskrit name for Dancer Pose Yoga?
The Sanskrit name is Natarajasana. It means the pose of the cosmic dancer, Lord Shiva.